[UPDATED: this post was updated in April 2019 for changes with the 3.0 version of the SAP Cloud Platform SDK for iOS Assistant]
In our previous post, we described the example Corporate Directory app that we built using the SAP Cloud Platform for iOS SDK. Now let’s take a look at how we started the project in SAP’s Cloud Portal, and how we used the SAP Cloud Platform SDK for iOS Assistant to generate an Xcode project.
Getting Started
First we set up our SAP Cloud Platform account, and installed the SAP Cloud Platform SDK for iOS (this requires a macOS computer with the latest version of Xcode installed). Then, we searched for an API that would work for our app.
Finding Your Entity and Setting up a Mobile Destination
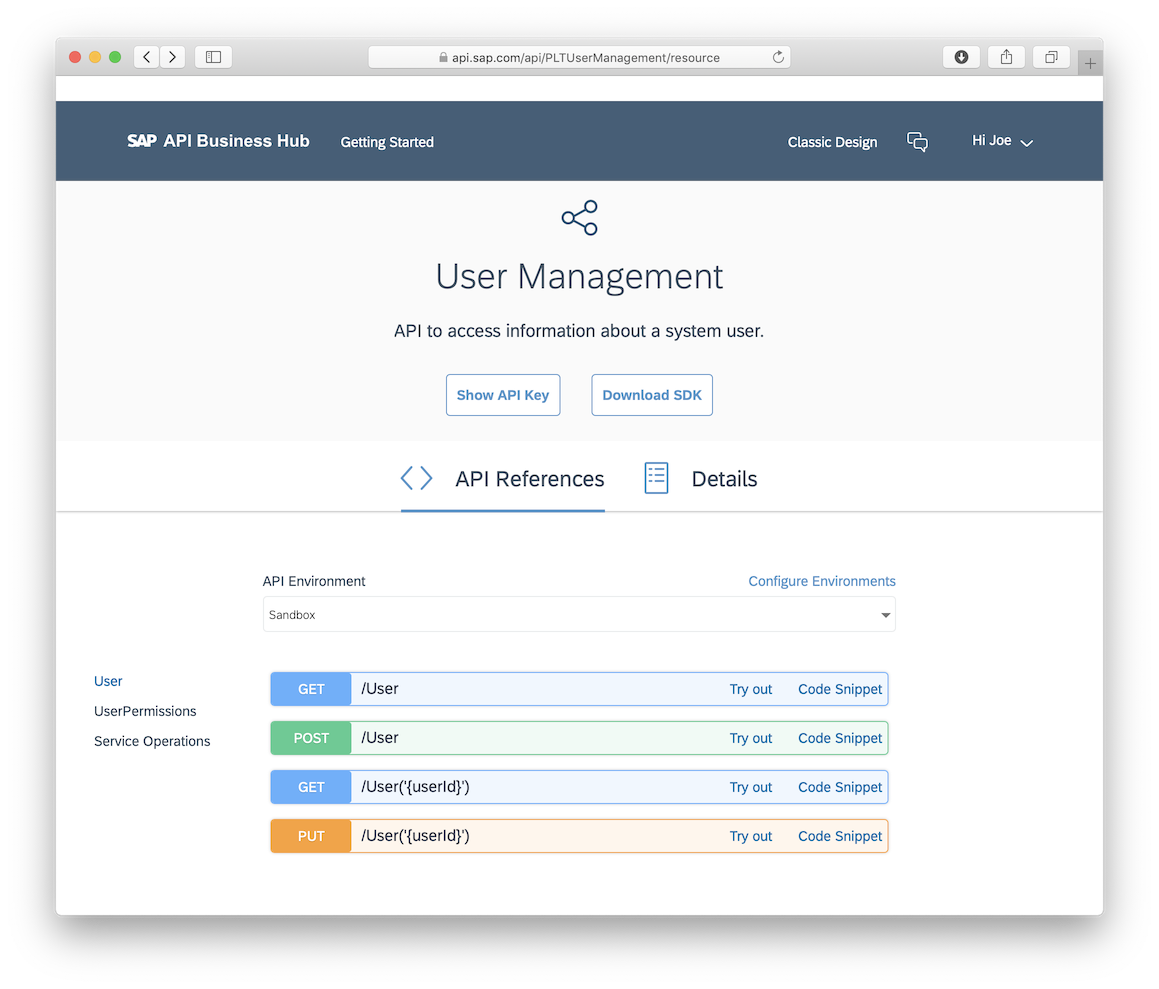
We browsed through the Success Factors API data to find User Management, which looked like it would have the information necessary to complete our contact list. There are two important pieces of information available on this screen: the API Endpoint and a link to get the API Key. The API Endpoint roots for production and sandbox environments are visible in the Details tab; and the paths are available in the API References list. The API Key can be obtained by selecting the Show API Key button, then selecting Copy Key and Close.
Once we found this page, we visited to the SAP Cloud Platform Mobile Services home page.
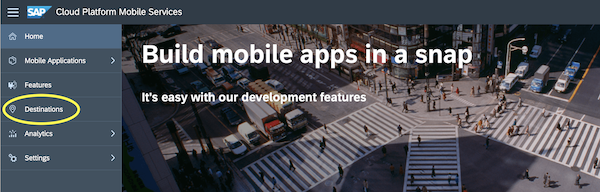
We clicked on the Destinations item (available both in the menu and in the Object Overview section), and selected the New button to create a new Destination for the app.
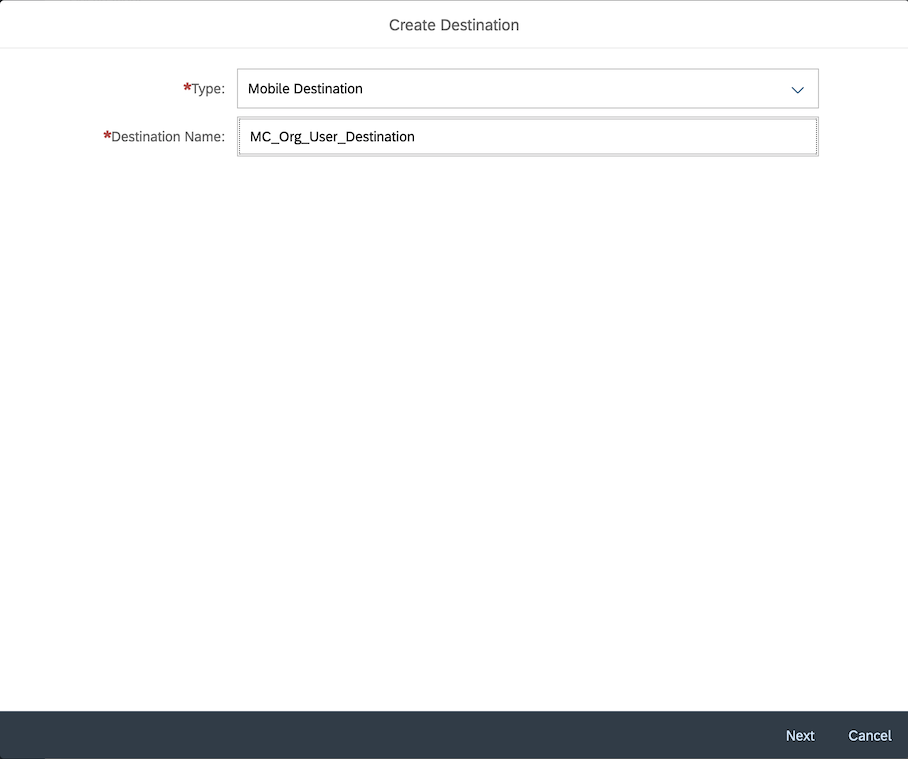
We selected Mobile Destination as the type, and provided a name for the destination. Note: the name cannot contain spaces.
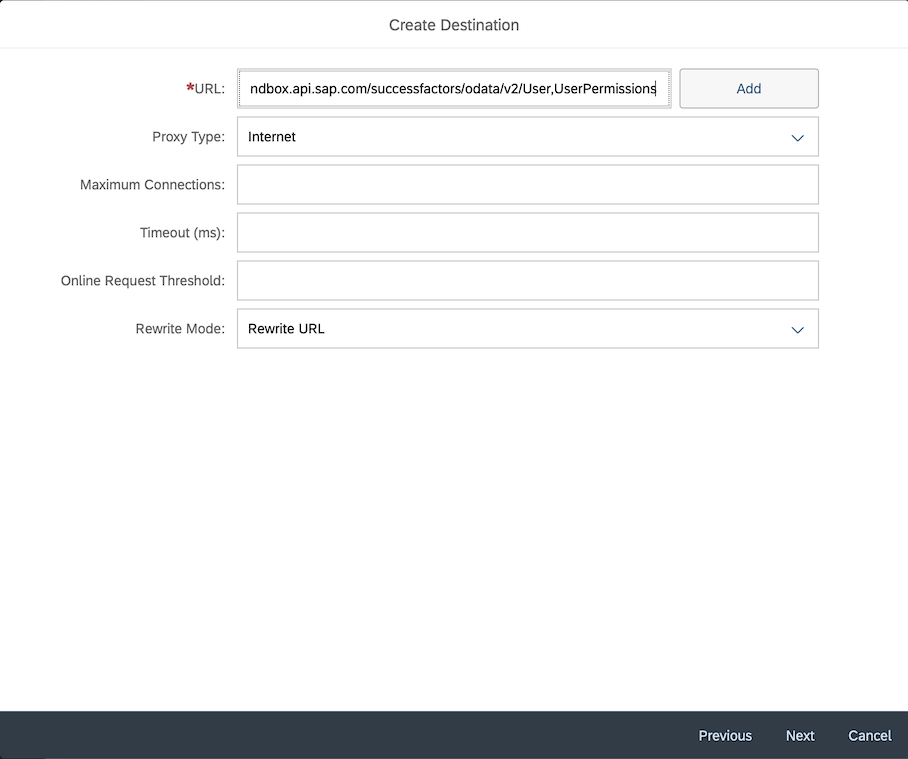
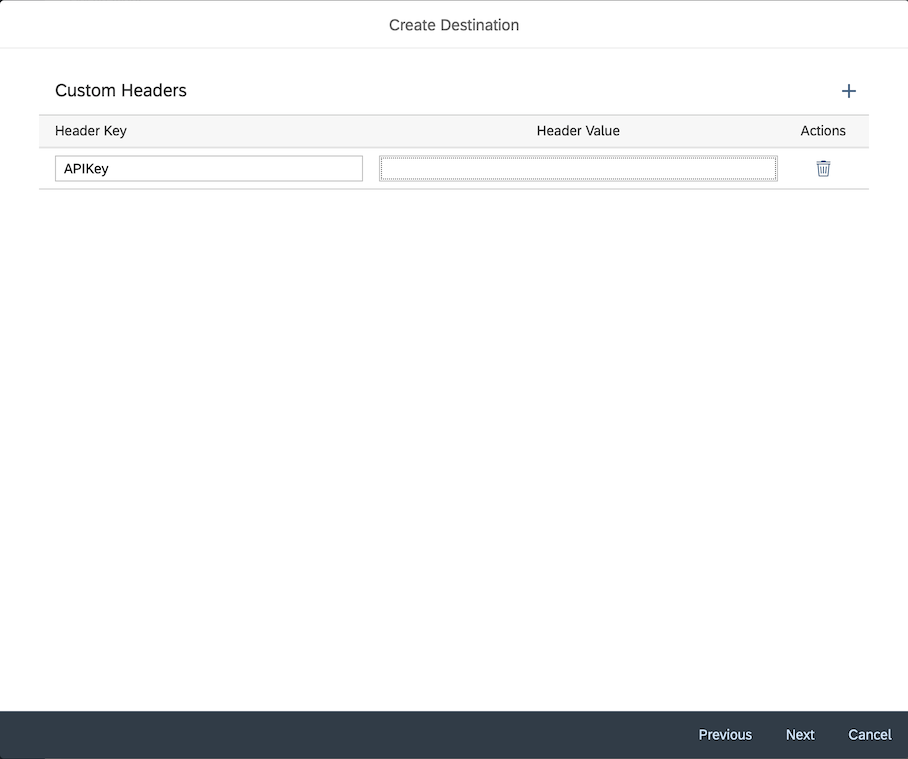
In the next screen, we constructed the URL from the User Management API screen by appending the User and UserPermission endpoints, comma separated. to the sandbox root URL, and left the rest of the fields with their default values. Next, we set up the APIKey for the destination (from the “Show API Key” button on the User Management API page shown previously):
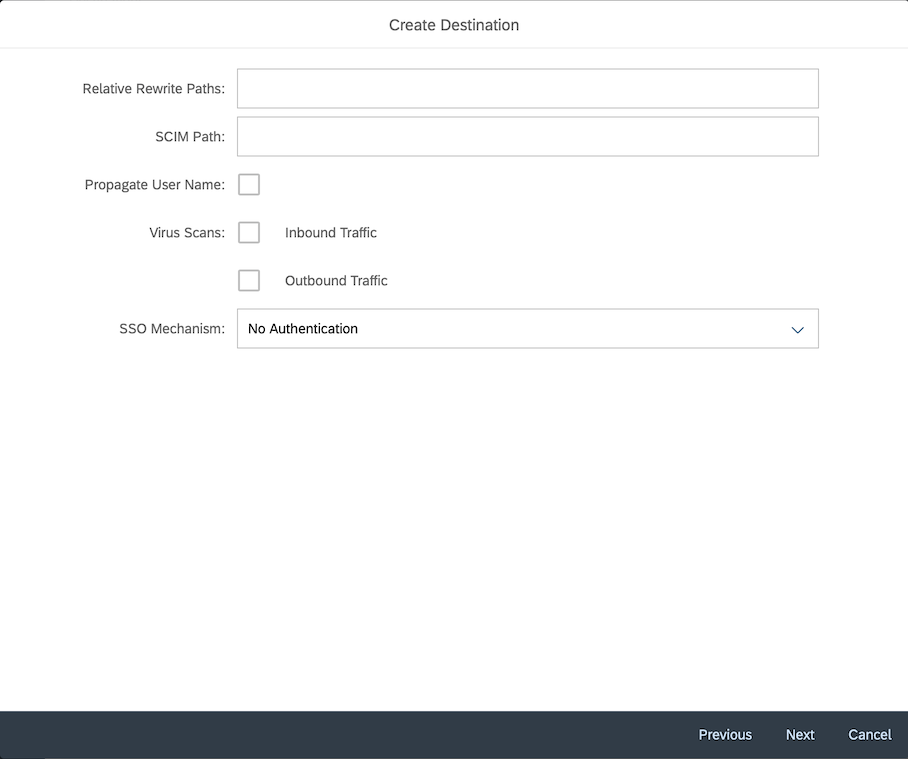
Finally we made sure the endpoint has No Authentication set, and completed creation of the destination.
Starting the Xcode project
Once we set up the destination in the portal, we used the SAP Cloud Platform SDK for iOS Assistant to generate an Xcode project. This is a really powerful feature of the SDK - the Assistant is a macOS application which will create boilerplate code for the selected model entities, and will build a skeleton user interface to access the selected entities. While this created code will not be what we would want to ship to users, it saves a lot of time and simplifies the development process.
In the Assistant, we hit the “Create New” button to start a new project. This kicks off a series of screens to collect information about the app:
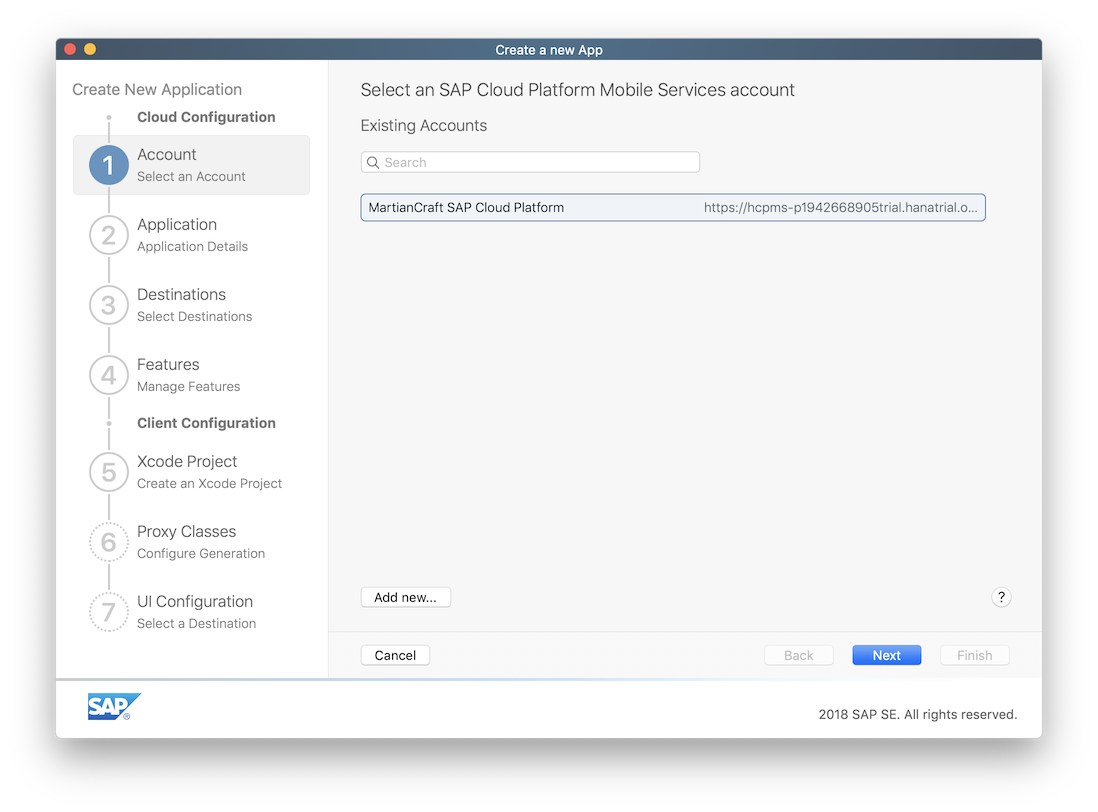
The first step (Account) is to select the desired SAP Cloud Platform Mobile Services account.
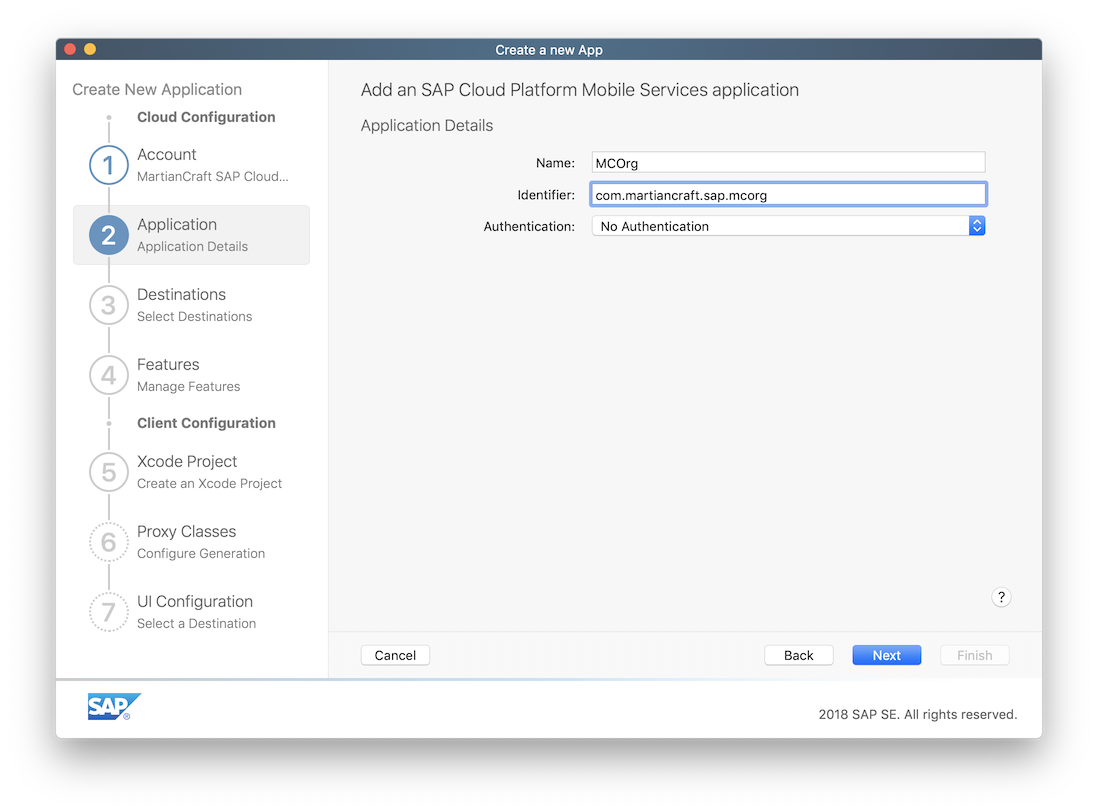
In the second step (Application) we specified a Name, which is used to identify the project in the SAP Cloud Platform. We specified an Identifier, which is typically a reverse-DNS style unique identifier for an app in the app store. We selected No Authentication as our authentication option.

In the Destination step, we selected the destination we set up in the portal. It is possible to set up destinations directly from the assistant here. In our case, we needed to set the destination up in the portal since we only wanted to include support for two entities (User and UserPermisssion).
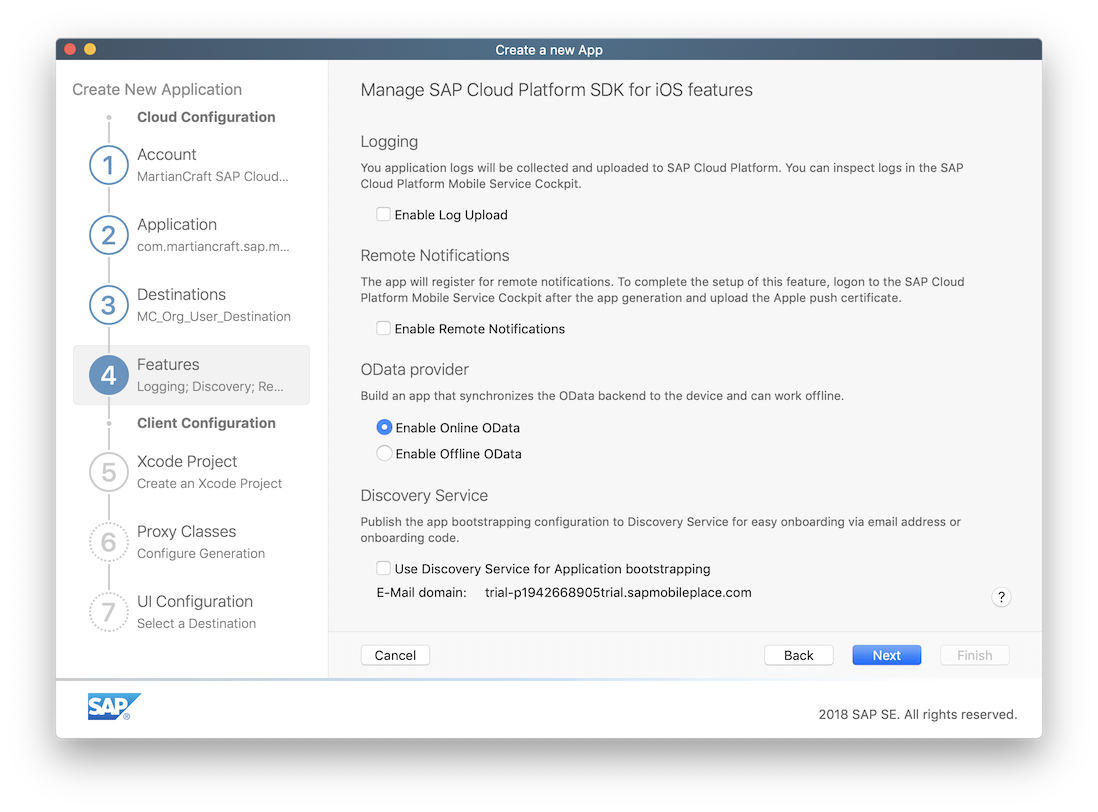
In the Features step, we disabled the options for logging, push notifications, and the Discovery Service; and kept the default OData provider selection at Enable Online OData.
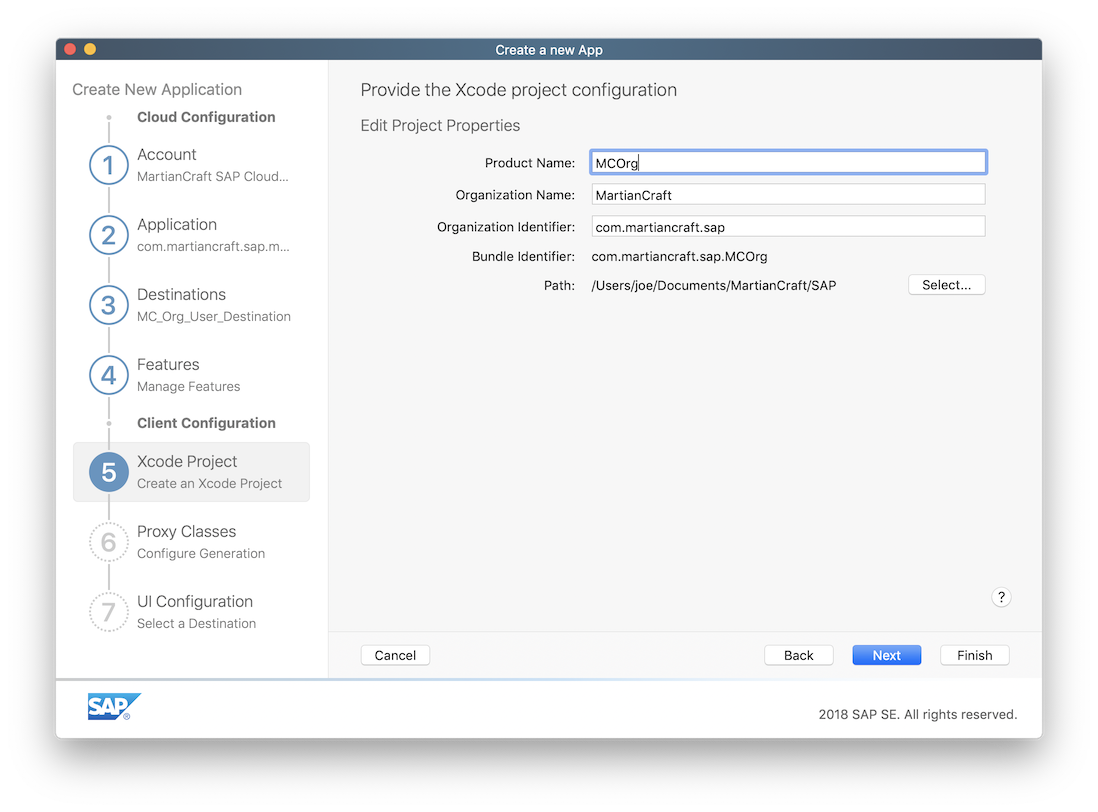
In the Xcode Project step, we used the same name for the Product Name as we did in the Application section. We specified the Organization Name, which will be used by the Xcode project in generated source code headers. We specified the Organization Identifier, a reverse-DNS style identifier which is then used to build the Bundle Identifier by appending the Product Name. Note: the Bundle Identifier must be unique for an app in the app store. Finally, we specified where we would like to save the project.

In the Proxy Classes step we confirmed that proxy classes would be generated for our selected destination.
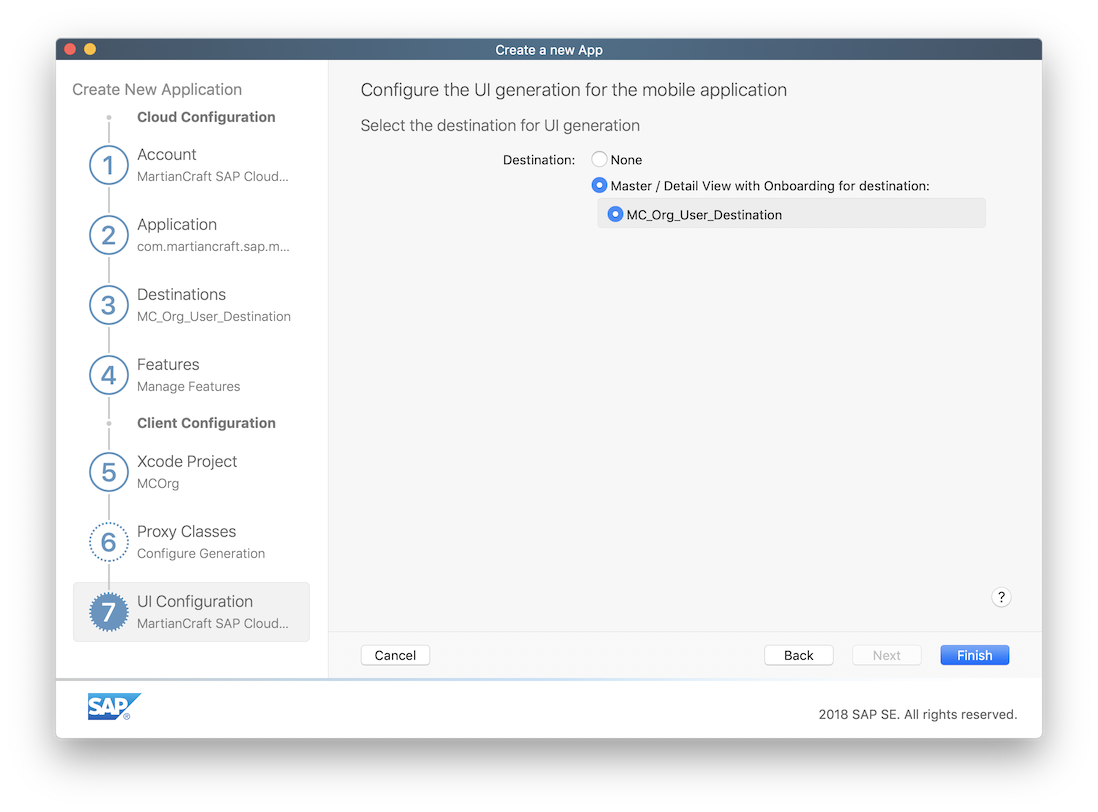
And finally in the UI Configuration step we confirmed that we would like the Assistant to generate a skeleton user interface for the entities included in our Destination. We selected Finish, and after a few moments, the Assistant had created an Xcode project for us.
After some trial and error, and discussion with SAP technical resources, we discovered that two minor adjustments were required to the generated code in order to access the destination we created correctly. The first adjustment was in the OnboardingManager.swift file, in the configuredWelcomeScreenStep() method. We added “$metadata” to the end of the discoveryConfigurationTransformer’s authenticationPath parameter as shown:

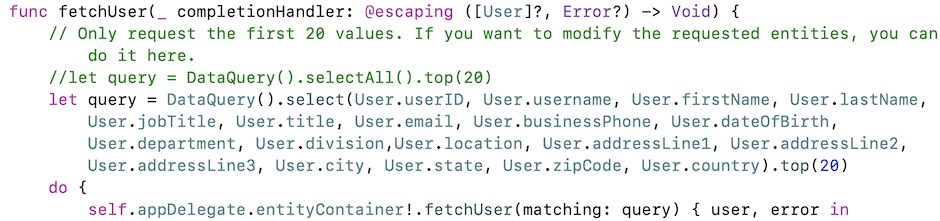
The second adjustment was in the CollectionsViewController.swift file, in the collectionSelected(at:) method. Instead of using selectAll() from the data query to include all the attributes, we needed to specify the attributes desired for both the User and UserPermissions entities. For example:
Running the app with those changes looks like this:
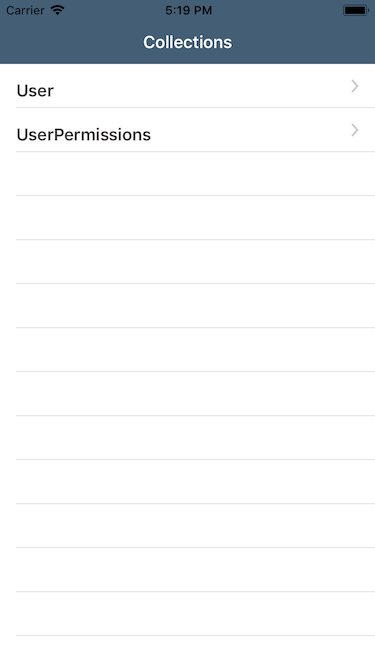
The user can select an entity, and then see a list of instances.
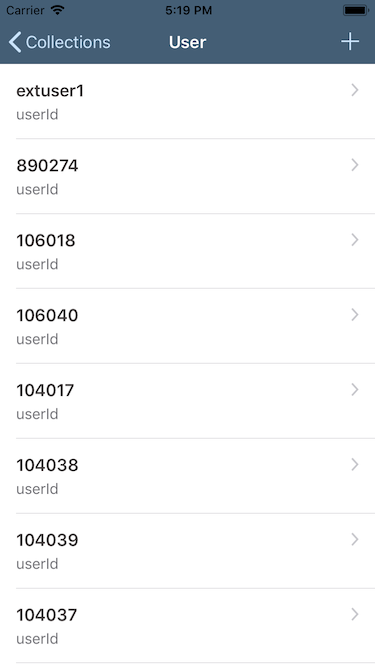
Clearly this is not what we would like to present to users; but all the “plumbing” is in place so we only needed to update the user interface to our design before adding more advanced features like Search. We will explore the customizations we performed to the iOS project in our next post.