SwiftUI introduced previews to show you the designs of your work immediately. This is a significant productivity improvement for developing and laying out views. This allows the developer to immediately identify problems and fix them, and also has the capability to review a couple of variations of previews with different platform specific constraints including view-sizes, font sizes (dynamic font), dark mode and others.
UIKit’s Views and ViewControllers can be integrated in SwiftUI apps, including xcode’s previews.
This article shows you how to conveniently wrap UIKit views into SwiftUI previews and how to adjust constraints typically found in UITraitCollection to generate multiple relevant preview variations.
Wrapping UIKit into SwiftUI-Preview
UIKit elements need to be wrapped into a container for SwiftUI that implements the protocols UIViewRepresentable for UIView and UIViewControllerRepresentable for UIViewController. These protocols are designed to bridge the differences between UIKit’s and SwiftUI’s view lifecycle and state management.
The solution is rather simple and quickly to develop since we only have to focus on the initial view build use case.
The examples shown wrap an UIView with UIViewRepresentable, but this can also be done with an UIViewController and it’s wrapper UIViewControllerRepresentable.
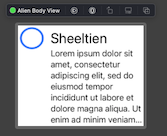
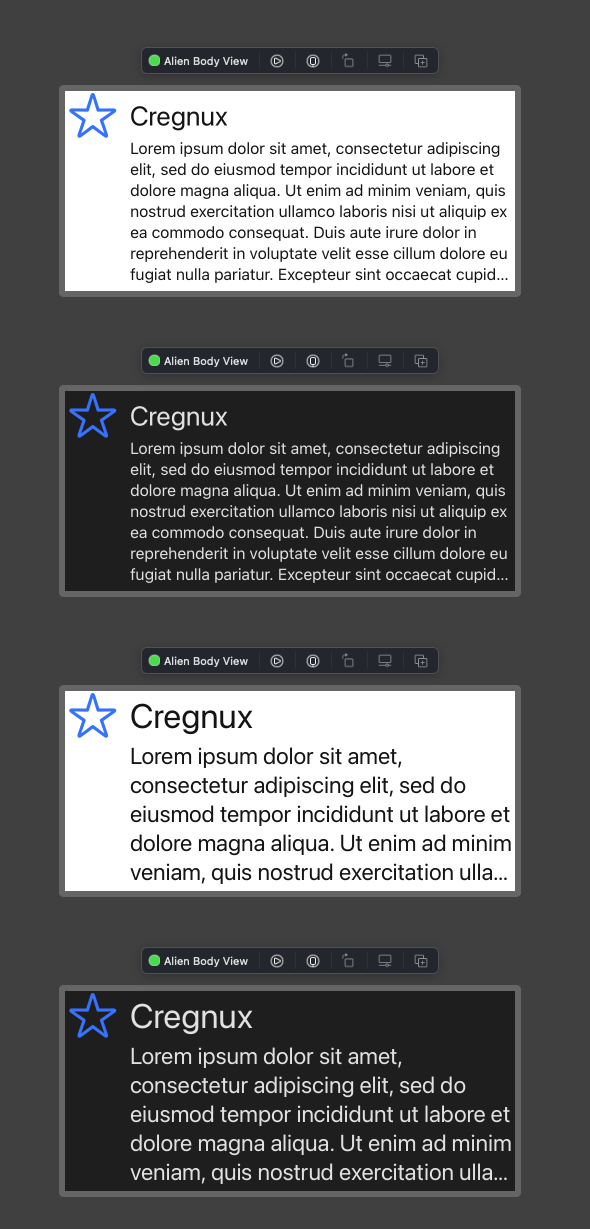
This example uses AlienDetailBodyView which is just a UIView subclass with dynamic fonts support that contains two labels and an image.
Create a UIViewRepresentable for AlienDetailBodyView:
	struct AlienDetailBodyViewRepresentable: UIViewRepresentable {

	    typealias UIViewType = AlienDetailBodyView

	    func makeUIView(context: Context) -> AlienDetailBodyView {
	        let view = AlienDetailBodyView(frame: .zero)
	        view.viewModel = AlienDetailBodyView_Previews.demo

	        return view
	    }

	    func updateUIView(_ uiView: AlienDetailBodyView, context: Context) { }

	 }
UIViewRepresentable has more directives for managing an UIView lifecycle and for coordination purposes. The above 3 are mandatory.
Only 2 of them are relevant implementations as we only need to worry about initializing the views:
UIViewTypeto set theUIViewtype.makeUIViewto createAlienDetailBodyView.
At this point AlienDetailBodyViewRepresentable could already be used within SwiftUI.
Here is an implementation of a PreviewProvider for this example:
	struct AlienDetailBodyView_Previews: PreviewProvider {

	    static var previews: some View {
	        let fixed = PreviewLayout.fixed(width: 250, height: 200)

	        return AlienDetailBodyViewRepresentable()
	            .previewLayout(fixed)
	            .previewDisplayName("Alien Body View")
	    }

	}
We can improve this process a little further by creating implementations of UIViewRepresentable or UIViewControllerRepresentable for each UIKit type; however, the implementation can be a little tedious if you only want to create them for previews.
The first thing that can be done is to define the UIViewType with a generic:
	struct PreviewViewRepresentable<V: UIView>: UIViewRepresentable {

	    typealias UIViewType = V

	    func makeUIView(context: Context) -> V {
	        V(frame: .zero)
	    }

	    func updateUIView(_ uiView: V, context: Context) { }

	}
This works great for Previews already as .previewLayout(…) will define the container size of the UIView; however, we loose the flexibility to instantiate the UIView in other ways.
Adding a block that will be called when makeUIView is executed solves this problem without changing how UIViewRepresentable manages the view lifecycle:
	    let onMakeUI: (Context) -> V

	    func makeUIView(context: Context) -> V {
	        onMakeUI(context)
	    }
Creating a preview for UIKit is now a lot less work:
	static var previews: some View {
	    PreviewViewRepresentable<AlienDetailBodyView>() { _ in
	        let view = AlienDetailBodyView(frame: .zero)
	        view.viewModel = AlienDetailBodyView_Previews.demo

	        return view
	    }
	    .previewLayout(PreviewLayout.fixed(width: 250, height: 200))
	    .previewDisplayName("Alien Body View")
	}
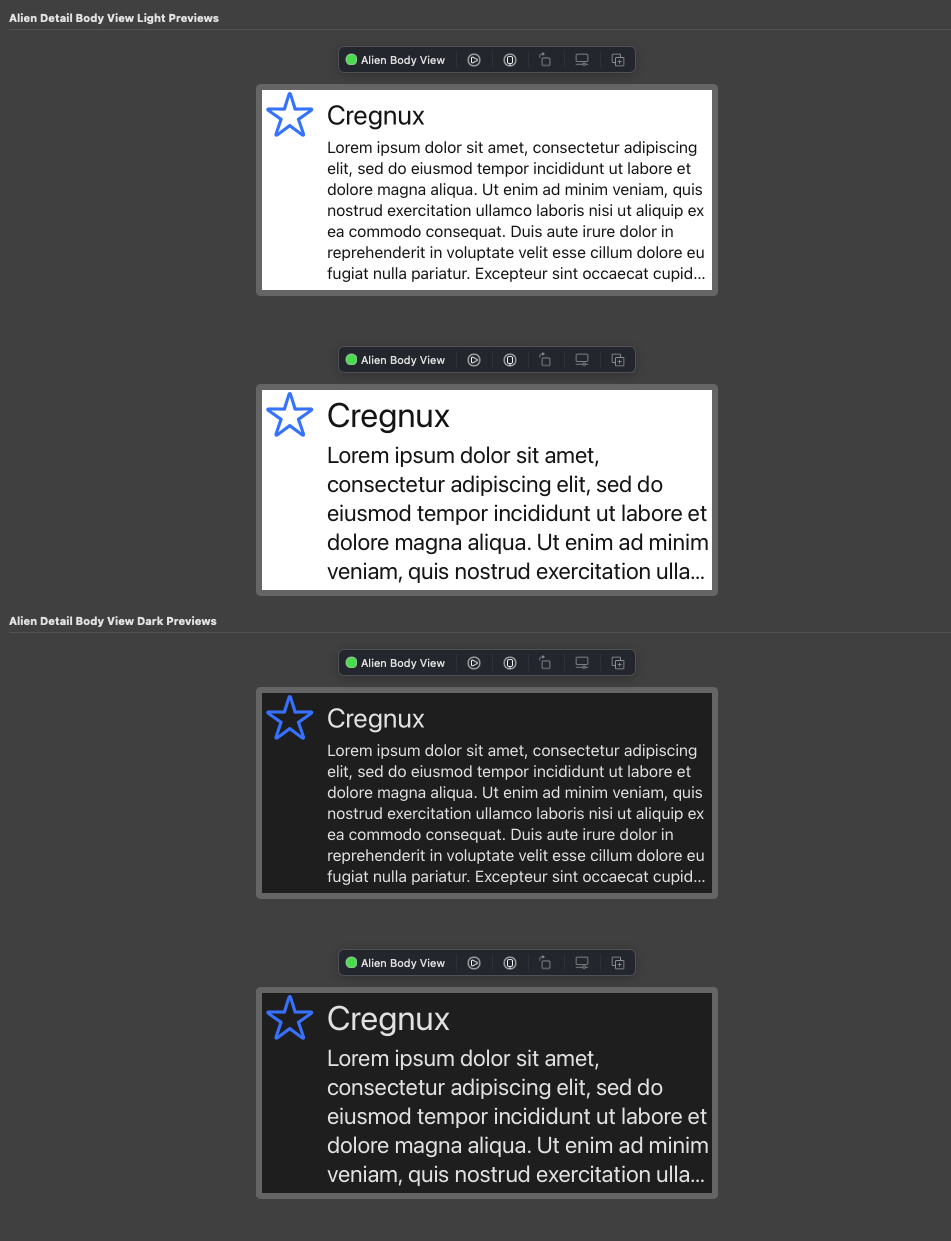
Preview Variations
It’s extremely helpful to predefine some device specific constraints for these previews to immediately identify problems with your layout. Picking the right ones depends heavily on the app and it’s requirements.
Device size or type are typical constraints for previews. Design layouts these days need to be very flexible, even if the app doesn’t need to support iPads. They need to work on a 3.5” (iPhone SE first generation) as well as on an 6.7” (iPhone 13 Pro Max).
Using .previewDevice(PreviewDevice) lets you control on which device the preview should be shown. Another way is to set .previewLayout(PreviewLayout) to define a fixed size, a flexible size (preview container adapts to view), or simply the size of the window of the current selected simulator.
The device size is always the same small fixed frame in all of our examples here. It allows us to better illustrate the results in the screenshots.
The following example shows 3 previews for each dynamic font size:
	struct AlienDetailBodyView_Previews: PreviewProvider {

	    static let contentSizes: [ContentSizeCategory] = [.medium, .extraSmall, .extraExtraExtraLarge]
	    static let layoutSize = PreviewLayout.fixed(width: 250, height: 200)

	    static var previews: some View {
	        Group {
	            ForEach(contentSizes, id: \.self.hashValue) {
	                PreviewViewRepresentable<AlienDetailBodyView>() { _ in
	                    let view = AlienDetailBodyView(frame: .zero)
	                    view.viewModel = AlienDetailBodyView_Previews.demo

	                    return view
	                }
	                .environment(\.sizeCategory, $0)
	                .previewLayout(layoutSize)
	                .previewDisplayName("Alien Body View \($0)")
	            }
	        }
	    }
	}

If the app needs to support dark mode, dynamic font, and iPhone and iPad, you end up writing a lot of code around looping your views with varying environment variables and device sizes. This can be improved with a custom ViewModifier that generates multiple views as a group with SwiftUI’s ForEach loop, which on each iteration a new environment value is set.
Here is an example for darkmode that iterates through the ColorSchemes which can be .light and .dark:
	public struct ColorSchemesPreview: ViewModifier {

	    let colorSchemes: [ColorScheme]

	    public func body(content: Content) -> some View {
	        ForEach(colorSchemes, id: \.self.hashValue) { colorScheme in
	            content
	                .preferredColorScheme(colorScheme)
	        }
	    }
	}
The following extension is typical for ViewModifiers to improve readability:
	extension View {

	    func previewColorSchemes(_ colorSchemes: [ColorScheme] = [.light]) -> some View {
	        modifier(ColorSchemesPreview(colorSchemes: colorSchemes))
	    }
	}
This extension looks very similar to the SwiftUI’s .previewColorScheme():
	static var previews: some View {
	    PreviewViewRepresentable<AlienDetailBodyView>() { _ in
	        let view = AlienDetailBodyView(frame: .zero)
	        view.viewModel = AlienDetailBodyView_Previews.demo

	        return view
	    }
	    .previewColorSchemes([.light, .dark])
	}
Creating a ViewModifier for each specific environment modification can also be optimized with generics again. All the ViewModifier does is calling ForEach and .environment. Defining the same generic constraints of these two functions (see Apple’s documentation) into the ViewModifier allows us to make this whole process generic.
ForEach needs data of type RandomAccessCollection and a hashable property (ID) to identify each element
.environment() needs a writeable keypath for EnvironmentValues. WriteableKeyPath basically enables passing around references of mutable instance properties:
	public struct EnvironmentVariationPreview<Data, ID>: ViewModifier where Data : RandomAccessCollection, ID : Hashable {

	    let environmentPath: WritableKeyPath<EnvironmentValues, Data.Element>
	    let data: Data
	    let id: KeyPath<Data.Element, ID>

	    public func body(content: Content) -> some View {
	        ForEach(data, id: id) { contentSizeClass in
	            content
	                .environment(environmentPath, contentSizeClass)
	        }
	    }
	}
The view extension mimics the same signature as in SwiftUI’s .environment:
	extension View {

	    func environmentPreviews<Data, ID>(_ environmentPath: WritableKeyPath<EnvironmentValues, Data.Element>,
	                                       _ data: Data,
	                                       id: KeyPath<Data.Element, ID>) -> some View where Data : RandomAccessCollection, ID : Hashable {

	        modifier(EnvironmentVariationPreview(environmentPath: environmentPath,
	                                             data: data,
	                                             id: id))
	    }
	}
Generating multiple preview variations is now quite easy. The following two lines will generate four previews of all possible variations of colorScheme and the two provided font sizes:
	static var previews: some View {
	        PreviewViewRepresentable<AlienDetailBodyView>() { _ in
	            let view = AlienDetailBodyView(frame: .zero)
	            view.viewModel = AlienDetailBodyView_Previews.demo

	            return view
	        }
	        .environmentPreviews(\.colorScheme, [.light, .dark], id: \.self.hashValue)
	        .environmentPreviews(\.sizeCategory, [.medium, .extraExtraExtraLarge], id: \.self.hashValue)
	}
Grouping
Xcode’s preview logic allows having multiple PreviewProvider in one file. This enables some organization of all preview variations. The camel-cased name of the PreviewProvider is used to generate the title of the group.
The following example will create this preview:
	struct AlienDetailBodyViewDark_Previews: PreviewProvider { ... }
	struct AlienDetailBodyViewLight_Previews: PreviewProvider { ... }
Shortcut:
You can make use of the xcode’s shortcut ⌥ ⌘ P to refresh previews without loosing focus on your code editor.
⌘ P alone is still the shortcut for printing out a page on paper, which is a very prominent shortcut for such an neglectable functionality these days.
Some prefer to use this short cut for something more important. In this case we could set ⌘ P for updating previews.
Simply navigate to xcode preferences and look for entries of “Refresh Canvas” under the shortcuts tab.
Conclusion
You don’t have to miss out on one of the best features of SwiftUI to boost your productivity, if you are currently working in an UIKit environment. It’s a great way to implement the smallest details of views without having to constantly launch a simulator and navigate through view stacks to find the screen you are working on.
Here are the reusable code pieces used in the examples above:
	//  Using the `DEBUG` will make sure any preview related helper code isn't available by your production environment.
	#if DEBUG

	struct PreviewViewControllerRepresentable<VC: UIViewController>: UIViewControllerRepresentable {

	    typealias UIViewControllerType = VC

	    let onMakeUI: (Context) -> VC

	    func makeUIViewController(context: Context) -> VC {
	        onMakeUI(context)
	    }

	    func updateUIViewController(_ uiViewController: VC, context: Context) {}
	}

	struct PreviewViewRepresentable<V: UIView>: UIViewRepresentable {

	    typealias UIViewType = V

	    let onMakeUI: (Context) -> V

	    func makeUIView(context: Context) -> V {
	        onMakeUI(context)
	    }

	    func updateUIView(_ uiView: V, context: Context) { }
	}

	public struct EnvironmentVariationPreview<Data, ID>: ViewModifier where Data : RandomAccessCollection, ID : Hashable {

	    let environmentPath: WritableKeyPath<EnvironmentValues, Data.Element>
	    let data: Data
	    let id: KeyPath<Data.Element, ID>

	    public func body(content: Content) -> some View {
	        ForEach(data, id: id) { contentSizeClass in
	            content
	                .environment(environmentPath, contentSizeClass)
	        }
	    }
	}

	extension View {

	    func environmentPreviews<Data, ID>(_ environmentPath: WritableKeyPath<EnvironmentValues, Data.Element>,
	                                       _ data: Data,
	                                       id: KeyPath<Data.Element, ID>) -> some View where Data : RandomAccessCollection, ID : Hashable {

	        modifier(EnvironmentVariationPreview(environmentPath: environmentPath,
	                                             data: data,
	                                             id: id))
	    }
	}

	public struct PreviewDevicesPreview: ViewModifier {

	    let previewDevices: [PreviewDevice]

	    public func body(content: Content) -> some View {
	        ForEach(previewDevices, id: \.self.rawValue) { previewDevice in
	            content
	                .previewDevice(previewDevice)
	        }
	    }
	}

	extension  View {

	    func previewDevices(_ previewDevices: [PreviewDevice] = [PreviewDevice(rawValue: "iPhone 13")]) -> some View {
	        modifier(PreviewDevicesPreview(previewDevices: previewDevices))
	    }
	}

	#endif