
Idea & excitement
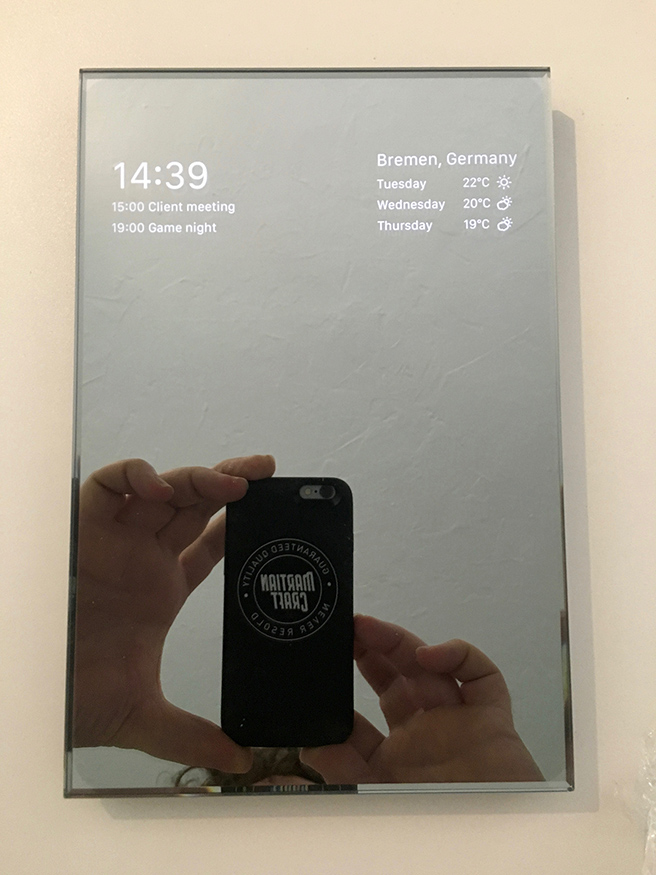
Being a rather nerdy person, I got incredibly excited when I saw a smart mirror for the first time. The idea of simply extending a very static everyday object like a mirror with dynamic and important information seemed really great to me. Ever since that moment I became interested in building my own. Eventually, I ended up building an always-on smart mirror for my desk:
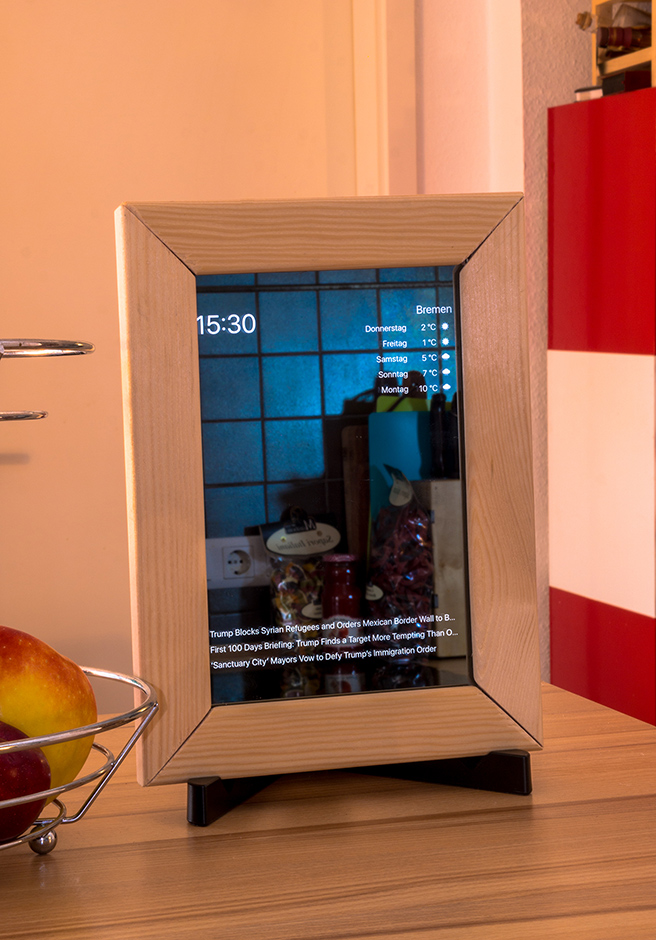
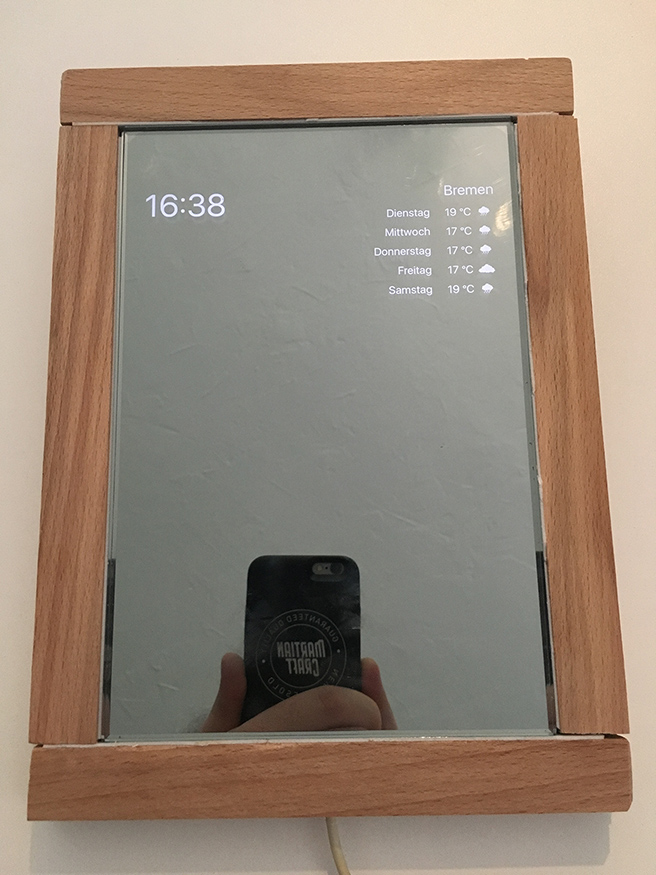
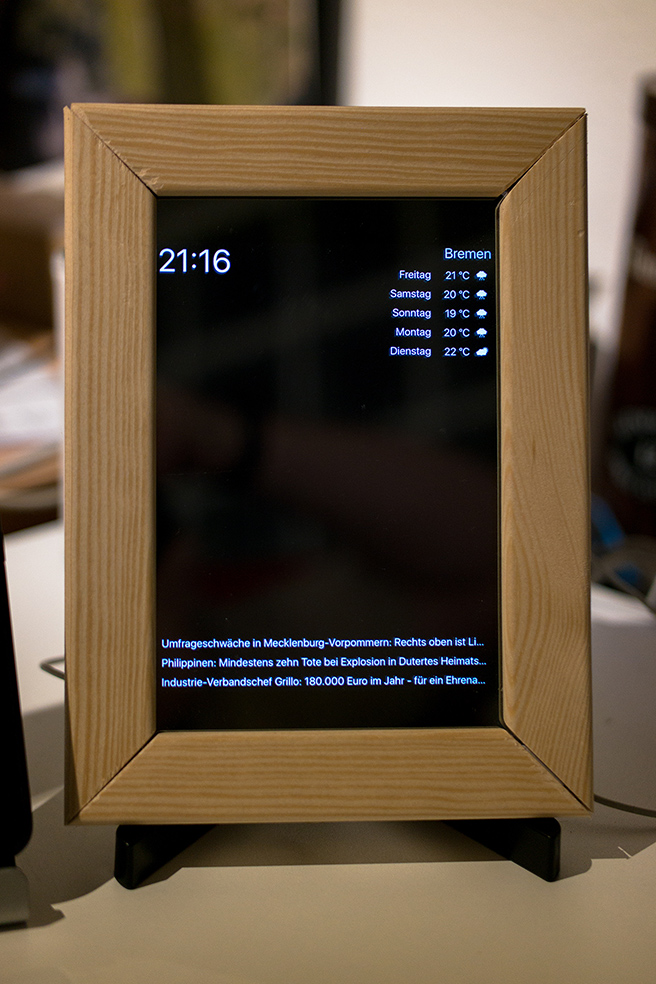
The completed mirror sitting on our kitchen isle. The app uses completely localised time format, day names and temperature units as per the device’s locale setting. The text at the bottom are the latest headlines from Der SPIEGEL.
After seeing a lot of such projects pop up over the last few months and getting even more interested in making one of my own, it was suggested I make an iPad-powered version that would be much easier for non-technical people to build than something involving a Raspberry Pi, a lot of wires, a display controller and possibly even soldering.
I thought the idea was absolutely fantastic, since some of those things were exactly what had kept me from building a smart mirror for such a long time. Even though I do like to tinker around, hardware and soldering aren’t exactly my strong suit and the idea of building a Linux-based user interface didn’t seem particularly exciting either. This idea is great because it keeps the scope small enough and allowed me to take on the project by investing some time here and there, whenever shipments arrived and I had some time to take care of it.
The scope I would attempt:
- iOS-based, preferably using the iPad’s display
- Support for various content modules, like RSS feeds, weather forecast, current time, and calendar (appointments, birthdays etc.)
- Animated weather icons
- Keep the iPad removable for software updates etc.
As you can see in my notes, I even started exploring some possibilities for future updates, since the possibilities with such a device are nearly endless, you just have to get really creative. We’ll find out in the future what exactly is a good idea to include in this project.
- Maps/travel times/traffic etc.
- Customisable modules (beyond RSS feeds)
- Mac/tvOS versions or iOS and HDMI output to separate screen
- Face recognition to customise content based on viewer
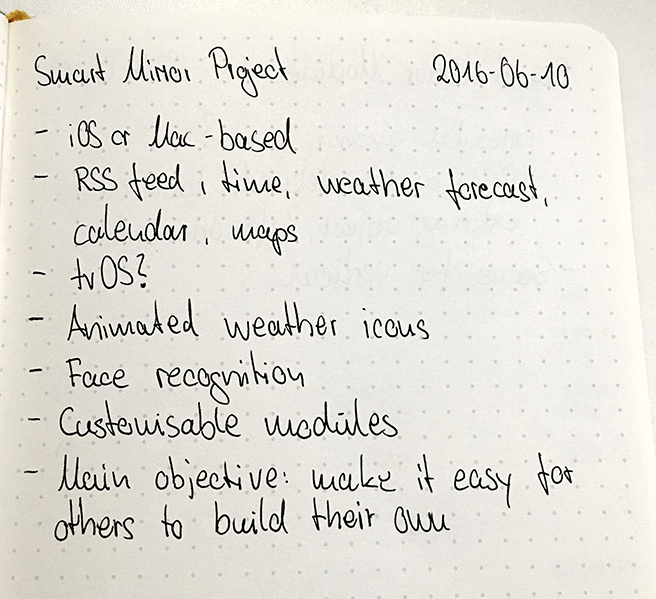
My notes from the initial discussion about the project, jotted down in my MartianCraft issue notebook.
Plans & purchases
To stay in the spirit of the project and keep things as easy to replicate as possible, so as many people as possible can build a smart mirror themselves based on our experiment, I decided to go with a very simple frame based on my iPad mini. I would build a sturdy frame that holds the mirror and the iPad mini and add some more ornamentation around it to make it look a little nicer. I fully intended to keep the smart mirror permanently on my desk (partially so I would have an excuse to buy the next iteration of the iPad mini once it comes out), so I wanted to ensure that it didn’t look completely out of place next to all that fancy Apple equipment.

The completed mirror sitting on my desk, next to my iMac.
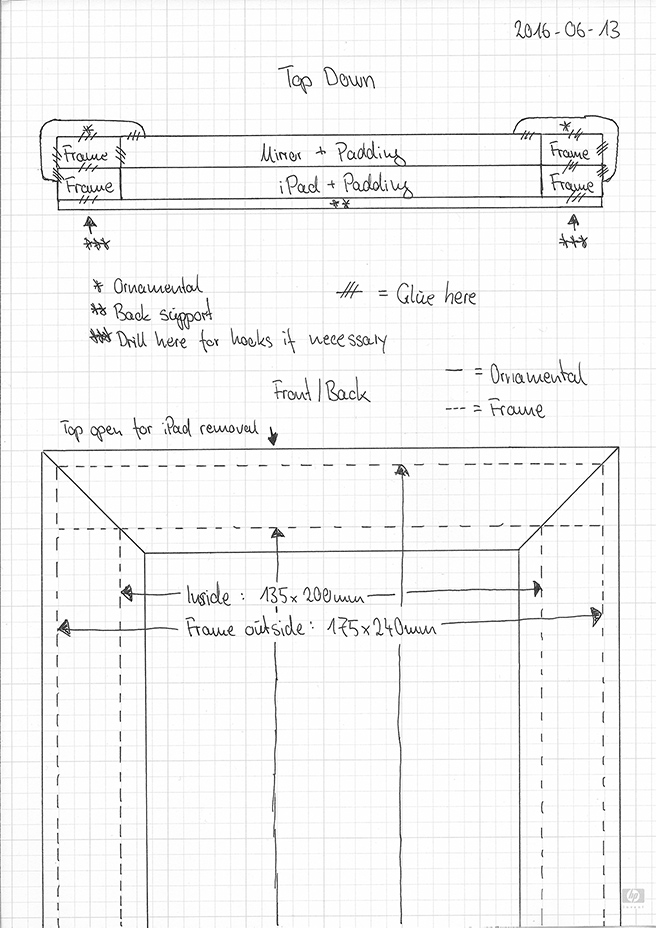
My initial drawing to plan my materials purchase which ended up being the exact plan I used to cut and glue the materials.
My iPad mini 2 is 134.7mm wide and 200.0mm tall, so I rounded a tad and ordered a custom two-way mirror at 135mmx200mm from spiegel-shop.de, which took a few weeks to arrive since it’s custom-made based on my specification.
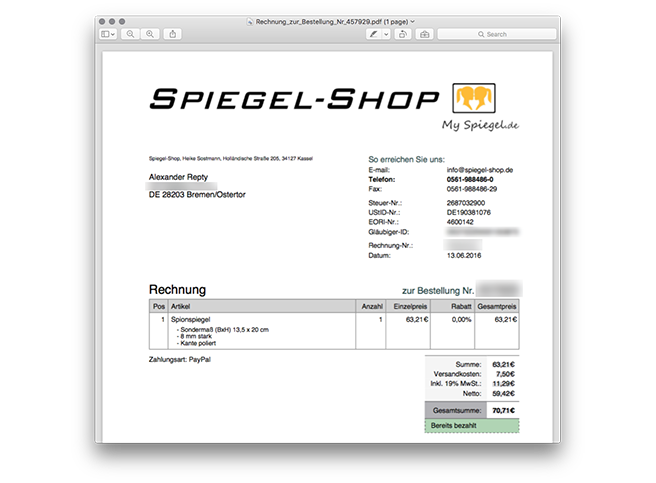
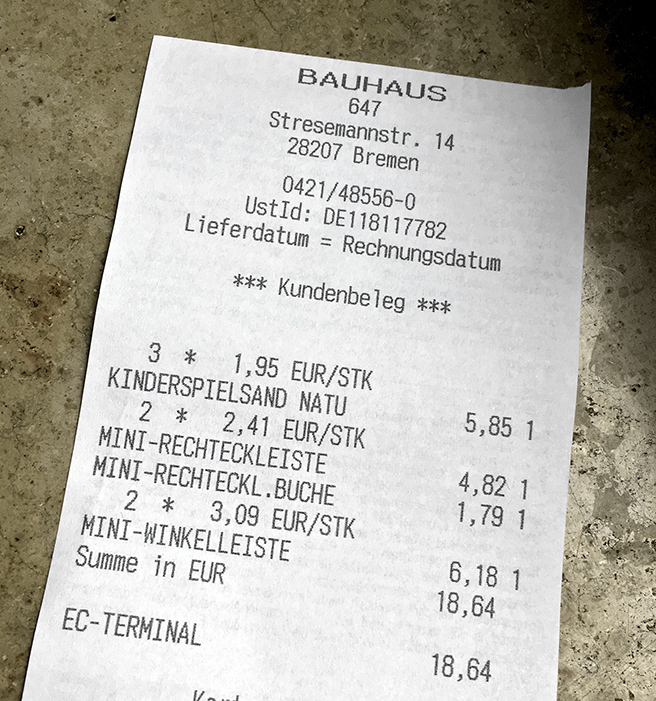
Invoice for the custom-made two-way mirror.
Laying the mirror on top of the iPad once it arrived, a perfect fit. The delivery guy was surprised that anyone would order such a tiny mirror.
There would have been a few more options for me to explore instead of the form-fitting small mirror that exactly covers the iPad:
- Use the iPad mini and its display as part of a larger mirror and fix the iPad mini up in one corner only
- Use a separate screen, like a TV display or a computer monitor and build a mirror based on that (with HDMI or AirPlay connection)
I decided against these options because I wanted a complete package and full immersion. The iPad mini would provide a great desk mirror or a decent wall mirror by the front door and for those who would choose to adopt this with a larger, 9.7” iPad (or even an iPad Pro) can get a beautiful, big mirror with a full-size display behind it.
Wood & glue
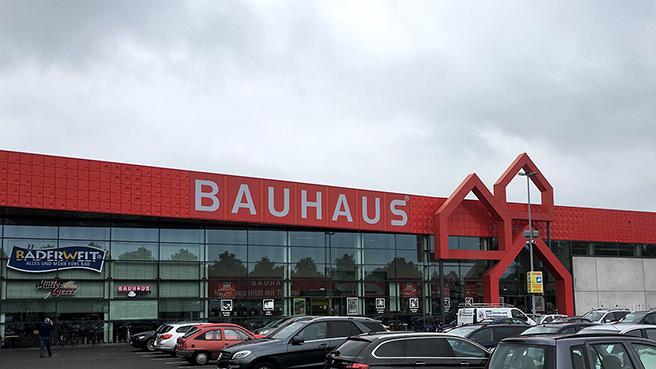
Heading to Bauhaus to grab the lumber for the frame
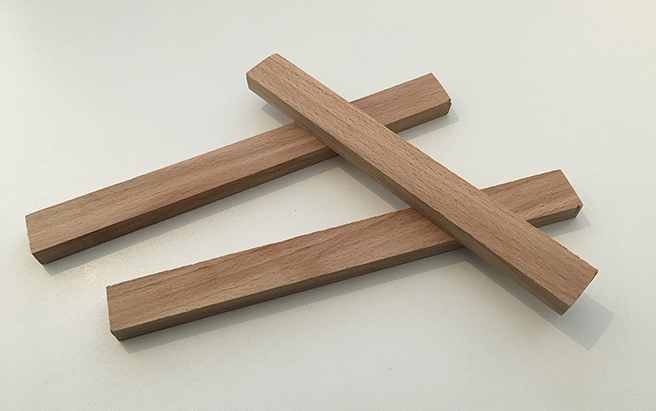
Even though it would be a while before my custom mirror arrived, I decided to head out and buy the materials I need right away. It came down to just €12.79 worth of lumber if you disregard the sand I purchased for my daughter’s sandbox on the same trip to Bauhaus. I went with 20x10mm laths for the frame, some thin 30x3mm laths for the back support and some ornamental frame pieces roughly 30x5mm in size that I would cut at a 45° angle to make it look nicer.
If you’re following along while building your own smart mirror frame, don’t worry if you cannot find those exact dimensions - it ends up a little bulky anyway, so feel free to size down a bit, just make sure you can encase your device and the smart mirror you’re getting. My mirror ended up being pretty beefy (and heavy, thanks to a thick piece of glass), so feel free to size this down a bit for your build.
I originally planned to use glue to put together the frame and hold the mirror in place, but the type of glue I purchased didn’t seem to hold two pieces of wood together very well so I bought some double-sided tape and used that instead. I figured I can even put in a Lightning cable for power by using a bit of Sugru to hold that in its original position.
Since I was looking to place the mirror on my desk, I decided to also get a simple adjustable tablet stand that will hold the whole thing in place. I perused Amazon’s offerings for a bit and eventually picked the Amazon Basics adjustable tablet stand for only about €8 or so.
I ended up buying some foam rubber for protection later on, but this is the bulk of the material costs, not counting the mirror.
Parts & tools
Here’s a handy list of everything I used to build the frame:
- iPad (mini)
- Two-way mirror
- Enough material for the frame to go around the mirror once (or twice if not thick enough to hold both mirror and iPad, see drawing)
- Heavy-duty glue or enough double-sided tape to tape pieces together
And these are the tools needed to build it:
- Saw
- Mitre box
- Sanding paper
Cutting & building
I started the actual process of building everything by cutting the frame for the mirror (but only after measuring twice). I taped the pieces to the side of the mirror and cut more as I went along. After I finished framing the mirror, I proceeded to cut the pieces for the second layer which would hold the iPad mini in place.
The finished frame, including the mirror and the iPad before I started putting the ornamentation on. Notice the gaps between the pieces of wood because of the double-sided tape.
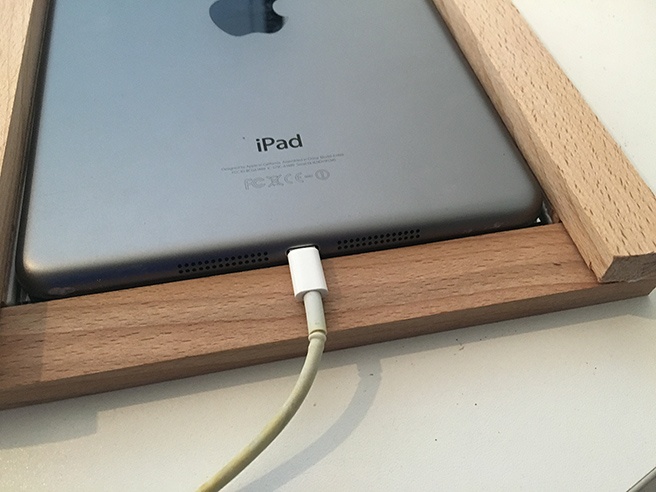
Putting the second layer of frame pieces on, to hold the iPad Mini in place. I put in the Lightning Cable as a guide so I could cut a proper hole for it into the piece of wood that I would eventually fit in there.
After I was done putting both levels of the frame together, I added the ornamentation around the first layer which I cut at 45° angles using a mitre box. A better craftsperson than me would probably have managed to create smaller gaps, but considering that my last woodworking class was some time in the late 80s in elementary school, I consider this a full success.
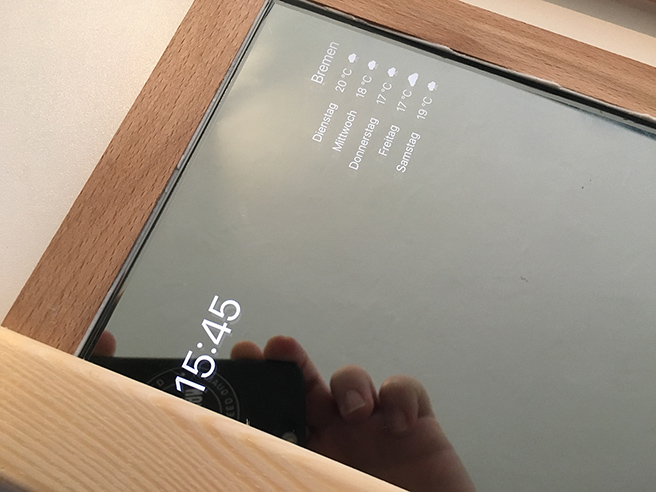
Adding the ornamental pieces on top of the first layer, just slightly covering the sides of the mirror. If you build this yourself, make sure to find out beforehand if you’re about to cover part of the screen. Ideally, bring the iPad with you when buying the materials.
Finally, I added the crossbar on the back that makes sure that the iPad won’t just fall out. I added some of the foam rubber to this part so that the iPad doesn’t get scratched when I squeeze it in there. I’ve built it to be a very tight fit, so inserting the iPad needs a bit of force and getting it out requires some sort of tool, like a dough scraper or such. It’s not meant to be removed on a regular basis.
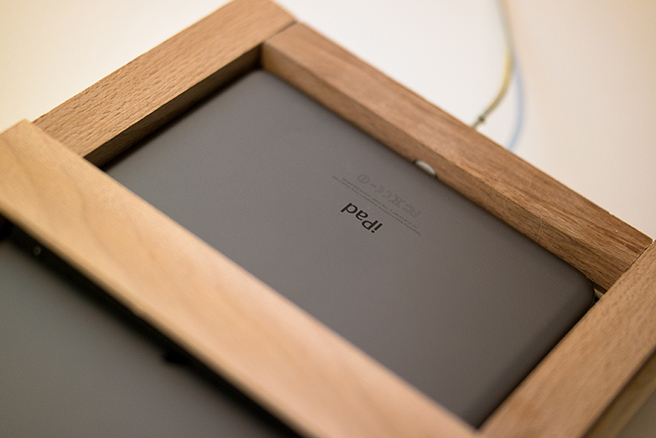
View of the back with the crossbar in place and the cutout for the Lightning Cable visible at the lower end.
In the end, the frame turned out a little thick, so I probably could have reduced the strength of the wood by a few millimetres and I’d still be fine, but this is just a minor detail that I don’t notice while looking straight at the mirror on my desk - and I’ve already been using it for a while now. In fact, I only notice it when I put the mirror face-down on the desk, so it’s really a non-issue if you cannot find slimmer material yourself.
The completed project, as it stands on my desk right now as I’m writing this. I’m thinking about painting it, which might even hide the gaps to some degree. Yes, it’s very rainy where I live.
Hopefully, this can serve as inspiration or even instruction to those who are planning to build their own smart mirror. Next week, we will continue this project to talk about the software side of things and how we put together a very simple app that displays the information you see in these photos.