Recap
Last week I wrote about how I ended up building the hardware side of an iOS-supported smart mirror, from planning the frame to purchasing the materials and - most importantly - the mirror.
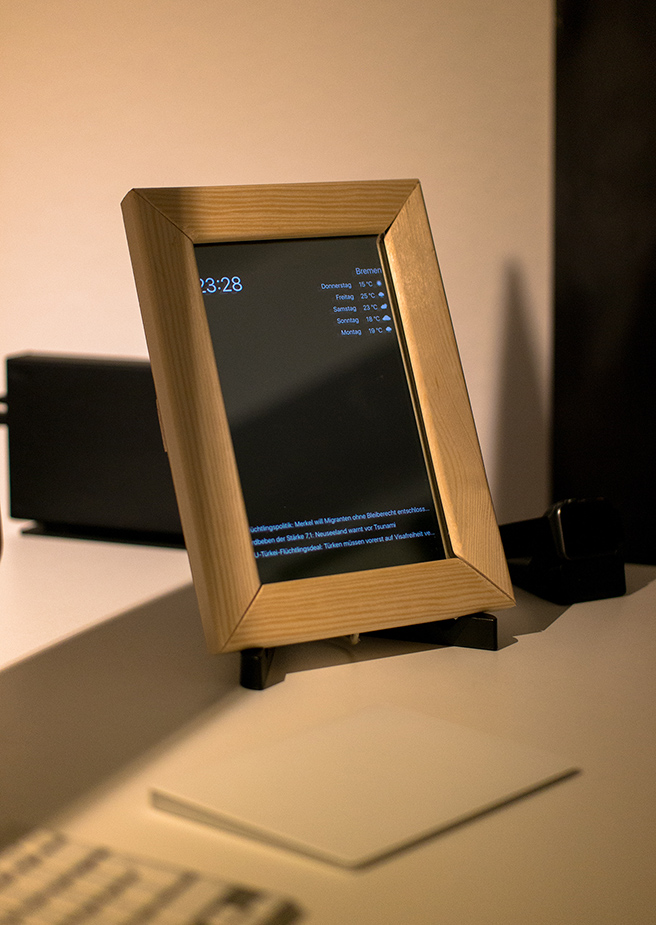
The completed mirror sitting on my desk. The app uses completely localised time format, day names and temperature units as per the device’s locale setting. The text at the bottom are the latest headlines from Der SPIEGEL.
Now, I’m going to talk about how I approached the software side of things, from planning to execution including some of the pitfalls that came up along the way.
Paper & pencil
While waiting for the mirror and some other minor materials to arrive, I got started with the software planning process. This would only be a prototype, a side project, but I still wanted it to be flexible enough to be able to turn it into a product if it turned out that it was a feasible idea.
I had a lot of back and forth while designing the software for this mirror. At first, I thought about creating a completely over-engineered version of the software that would fulfil all possible future needs anyone might ever experience. Eventually though, I realised how out of scope this would be. Complexities in software grow in a cancerous fashion, so it became obvious to me that I would have to keep this simple. Also, real artists ship and if I learned anything from my adventures creating an Apple TV game last year , it’s that the best course of action is to create a small, feasible and doable version of the software first. Don’t simply start writing code, obviously, but plan in a clever fashion so that the scope is still realistic.
I went over a few iterations until I decided to use just three elements for starters and forego most user-configurable things until it becomes obvious that it actually makes sense to include them. I figured that I would have to include a weather component, showing the current weather plus forecast for the current location, with the added bonus of using animated icons to illustrate the conditions. Next on the list is a clock, along with a list of upcoming appointments in the user’s calendars. Finally, I wanted to see a news feed at the bottom of the screen. Nothing fancy, just the three top headlines from any given RSS feed, user-configurable in the system Settings app so we can avoid adding configuration UI inside the mirror app.
Shapes & Briefs
After sketching out a rough idea of the user interface, I proceeded to mock it up in our very own Briefs to get an idea of what the application might look and feel like on an iPad.
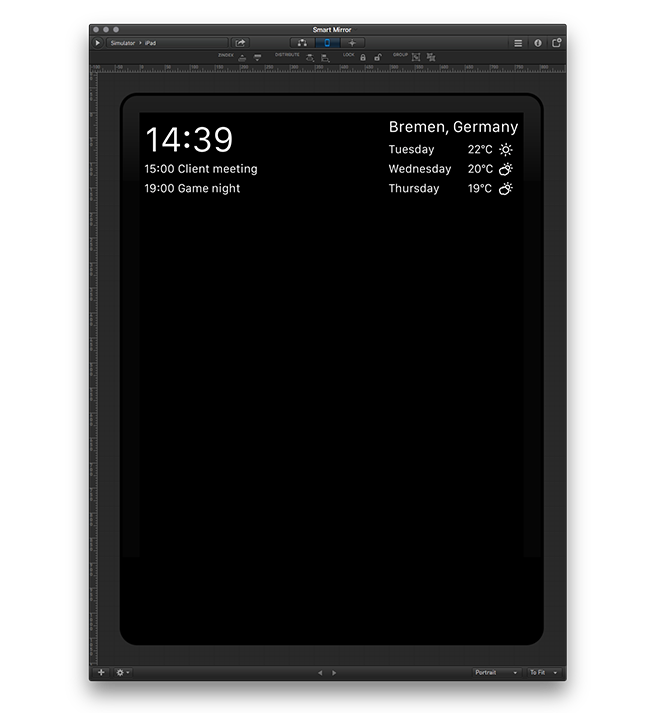
Crafting the user interface in Briefs to get a feel for what it will look like in the end.
For a smart mirror, it was important to me to use clear shapes and easily readable text, so the entire app is basically just black background - which won’t be visible in the mirror - and white text for graphics, with just a tad of graphics to illustrate the weather. This is where the animated weather icons come in to play, to give a sense of wonder to the user. The interface looks completely static except for the weather icons - that is unless you watch it for 10 minutes or so when it reloads data. It is something unusual that makes people stop and wonder.
With this approach, I was sure that I’d get a decent amount of information on the smart mirror but still allow the user to actually see their own reflection in the center of the screen and not just tons of data. I restricted the time & calendar module to show the bare minimum of information, same with the weather module in the opposing corner. The RSS feed at the bottom covers the entire available width of the iPad, so that the biggest possible part of the headlines can be displayed.
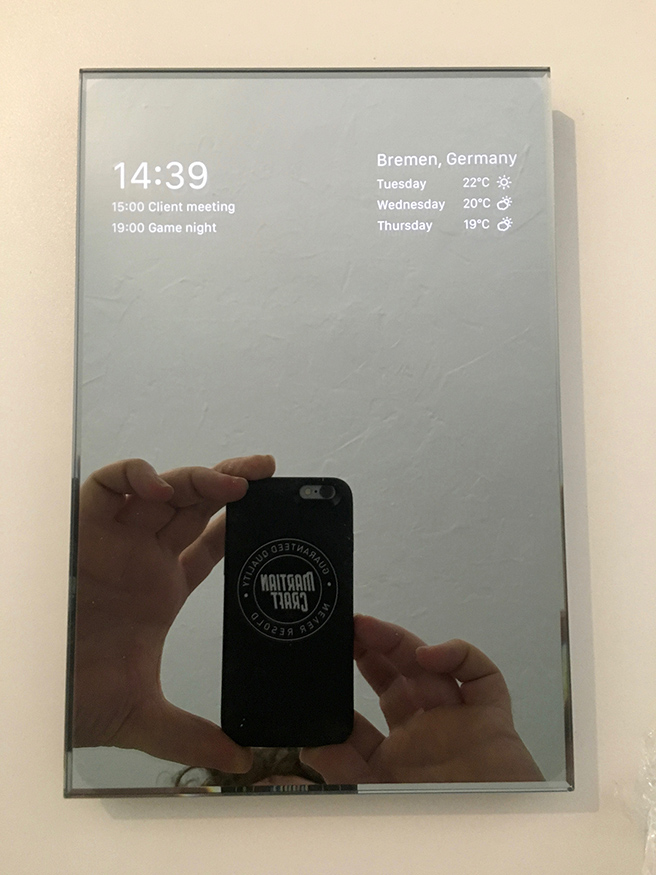
Showing the same user interface on the device using Briefscase, getting the first look at what the app will look like behind glass.
Bits & bytes
Right from the get go, I was set on building a native iOS app using Swift 3. It would also give me a great excuse to use some of the latest iOS 10 APIs that I haven’t had a chance to use yet. Of course, it would be possible to use anything else, like displaying a website in full screen, as long as it has a black background and bright content.
Since one of the goals of the project was to enable everyone to build one of these mirrors by themselves, so I planned to keep the software as simple as possible in order to facilitate future improvements.
I decided to separate the individual pieces of information that I wanted displayed into distinct UIViewController subclasses that I would add as child view controllers to a single main view controller. I added static layout that would work in both portrait and landscape orientations and decided to forego configurability for KISS reasons.
Keeping the application alive regardless of screen lock configuration is relatively simple by setting UIApplication.sharedApplication().idleTimerDisabled to true. This will keep the screen from locking as long as the application is running and in the foreground.
Bitmaps & stock
In order to create my vision of animated weather icons, I decided to look for some pre-made assets that I could simply drop into the project and get some seamlessly looping videos out of. I found some appropriate icons at videohive which I quickly bought and integrated into the project.
At first, it appeared that this plan did work out perfectly well and without much trouble, but I quickly realised that there was a problem looping videos inside an AVPlayerLayer thousands of times - the video would simply stop playing after some seemingly random time interval, or even crash. I tried to debug the issues for a while but eventually decided that extracting every single frame as a PNG file and animating those inside a UIImageView would be a much easier way forward.
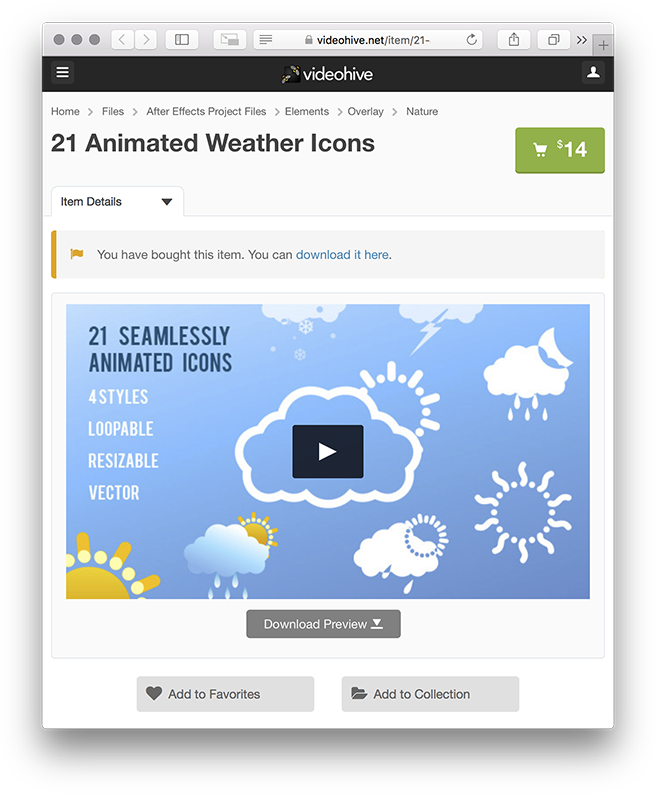
Sets of icons, animated or static, can be found for very little cost on sites like videohive.
APIs & data
The data sources for my modules would be easy enough to cover. The calendar module uses simple EKEventStore queries to fetch events from the user’s own calendars. One possible point of configuration for this part is to allow the user to pick and choose which particular calendars to display data for - for example, if they wish to display the entries from their own calendar, their subscribed work calendar but not their subscribed partner’s calendar. The app fetches the user’s next three entries and displays them inside a table view with their start time, plain and simple.

Laying out the view for the calendar module in Xcode.
For the weather module, the choice of data provider proved a little more difficult since Apple does not provide such data as part of the iOS 10 set of APIs. Therefore, I ended up looking at the APIs, prices and terms & conditions of a handful of providers of weather data until I finally settled on Open Weather Map . Their APIs are easy enough to consume from iOS and they offer a basic free plan that can be extended to a paid plan for developers who need more API calls and more detailed data.
The RSS feed is the only really customisable module out of the basic three modules included in this, mainly since not everyone likes the same source for their news. It defaults to the New York Times’ main RSS feed but can be configured to use any other RSS feed in the iOS Settings app. The application then fetches the RSS feed, parses it and displays the three latest headlines in a UITableView.
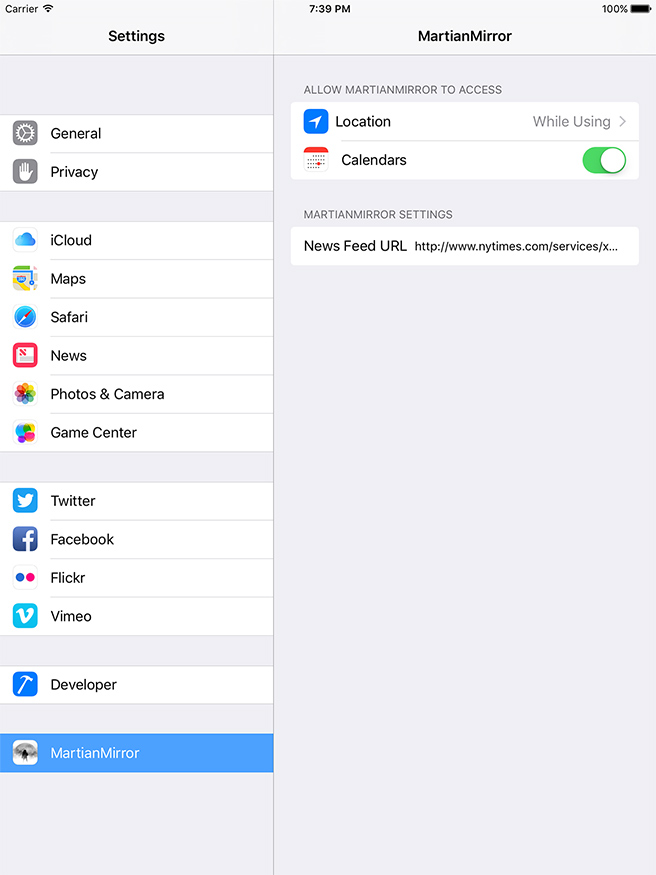
Settings allow the user to customize the URL for the news feed.
Conclusion
By keeping the execution of both the hardware and software really simple, a really useful iOS-based smart mirror is not only feasible, it’s also a lot of fun to build. If you already have a (spare?) iOS device sitting around, it’s also not prohibitively expensive so just go ahead and do one of these for yourself if you feel like it!