
SwiftUI, Apple’s declarative UI framework, was introduced nearly three years ago at WWDC 2019. Many organizations have resisted the temptation to jump on the shiny new thing immediately or have not been able to because of device support limitations, not unlike the Objective-C-to-Swift transition. But SwiftUI is now a realistic prospect for your mobile apps.
If you are working with an existing UIKit codebase and are SwiftUI-curious when it comes to adding or updating new features, this article should help answer your questions. I’m going to cover some of the technical details of how SwiftUI works and how state is managed, some tips on integrating SwiftUI into your existing code, and some common pain points.
A whistle-stop technical tour
SwiftUI depends heavily on several Swift language features, which work together to make things look and work like magic. These features are:
Everything that goes on the screen in SwiftUI is represented by a View. This is a protocol with a single required property, body, which returns some View. The some keyword means that the property returns an opaque type. This means you’ll be returning something that conforms to View, but you don’t have to say exactly what it is, only that the type will be consistent. The compiler will work out and check the specific type for you. You’ll see the reasons for this shortly.
The framework provides many implementations of View representing common UI elements such as labels, buttons, and so on. You can also create a custom view via the SwiftUI View template in Xcode’s new file dialog. A custom view is built by putting together smaller elements into containers:
struct SuperBasicView: View {
    var body: some View {
        VStack {
            Text("North")
            Spacer()
            Text("South")
        }
    }
}
This view looks like this:
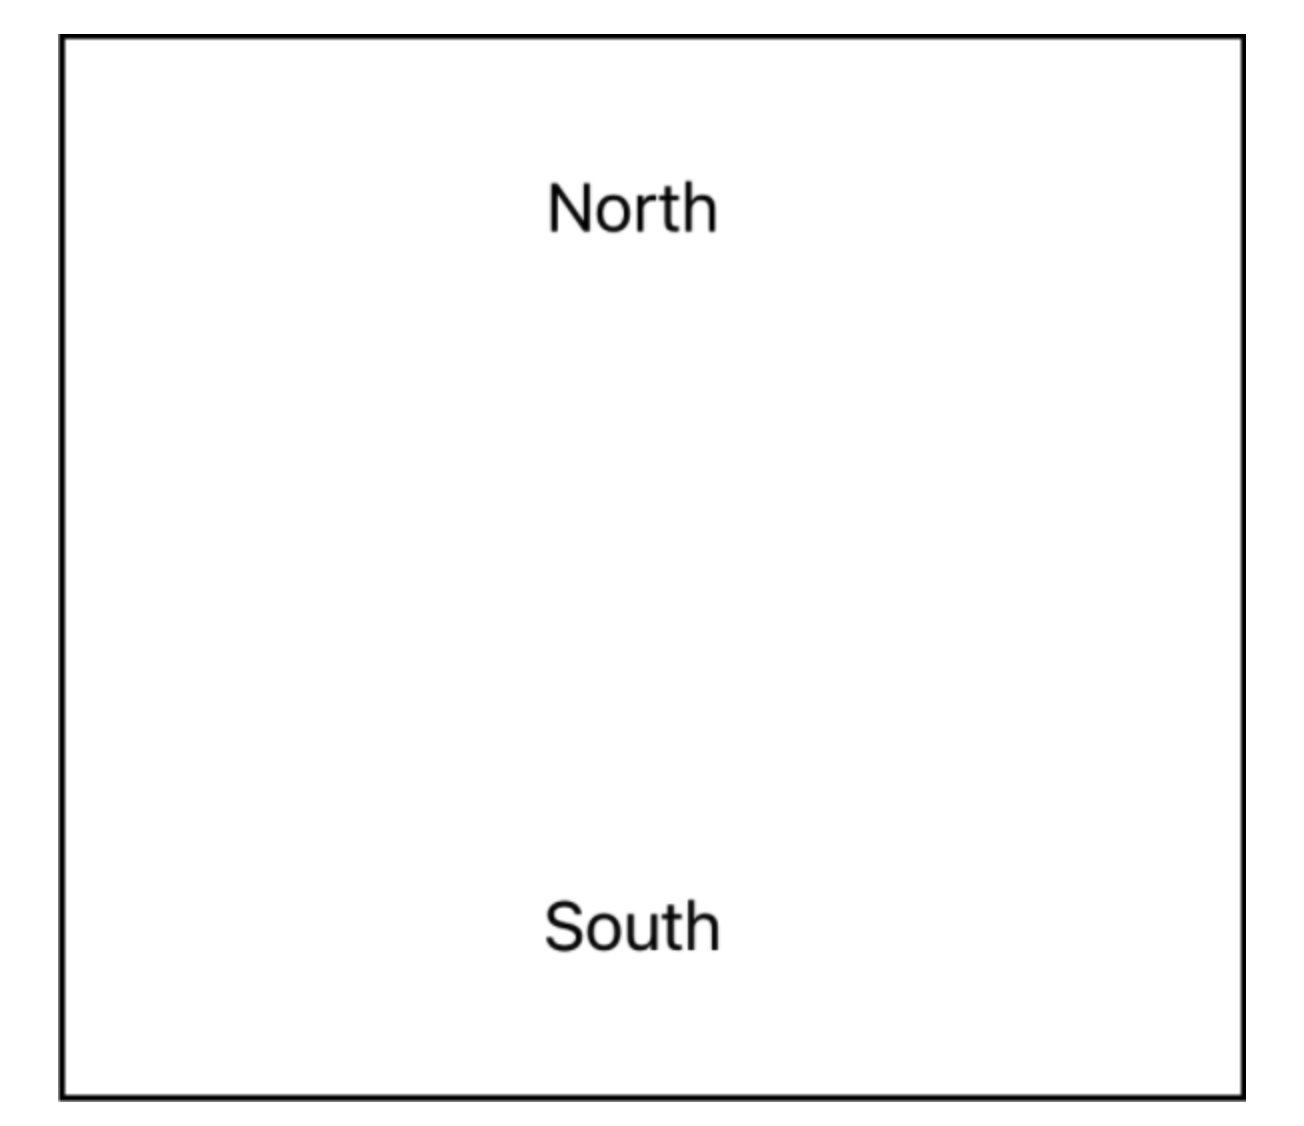
It’s a center-aligned vertical stack with some text, a gap, and some more text. This is not a surprise, given how the code reads. But there are some more language features at play here. What is VStack? It’s followed by an opening brace, then three lines of code, then a closing brace. That may not look like valid Swift. VStack is a struct, conforming to View:
struct VStack<Content> : View where Content : View
Here is its initializer:
init(
    alignment: HorizontalAlignment = .center,
    spacing: CGFloat? = nil,
    @ViewBuilder content: () -> Content
)
The initializer has a closure as its final argument type. This means it can use trailing closure syntax: For a function call where the last argument is a closure, you can just write the closure after the function call, with no further syntax adornments. The first two arguments have defaults, so writing VStack { something } is valid code equivalent to, but less brackety than, VStack(content: { something }).
The next language feature is signified by @ViewBuilder, which is what allows the three lines of code to be put together into a view.
@ViewBuilder is a result builder, explained very well in this WWDC video. Result builders are a language feature where consecutive statements in a closure are picked out by the compiler, assigned to variables, and passed into a function that assembles them together. They can also deal with limited conditional code, such as if and switch statements.
So this code:
{
    Text("North")
    Spacer()
    Text("South")
}
becomes this code behind the scenes:
{
    let v0 = Text("North")
    let v1 = Spacer()
    let v2 = Text("South")
    return ViewBuilder.buildBlock(v0, v1, v2)
}
which returns TupleView<(Text, Spacer, Text)>.
So the return type of body in SuperBasicView is VStack<TupleView<(Text, Spacer, Text)>>. Luckily, all you need to specify is some View for the return type. If some View didn’t exist, you’d need to continually update the declaration of body to keep up with what you were writing, which would be near impossible.
Of note here is that the number of components in a result builder is limited by the implementation(s) of buildBlock. For view builders, the limit is 10 items. If you have a view with more subviews than that, you need to rearrange or break it up.
View builders are everywhere in SwiftUI. Pretty much every view that has a contents type parameter as its final argument will be using a view builder. You can put view builders inside view builders, and so on.
The view builder approach means that each statement must result in a single, ready-to-use view. To allow this, views are configured using a modifier approach, where each aspect of configuration is applied by calling a function on the view, which returns another view. This is in contrast to UIKit, where you would create a single instance and then configure it property-by-property before using it.
Configuring a view with modifiers looks like this:
Text("Hello") // <-- Creates a struct
    .foregroundColor(.blue) // <-- Creates another struct
    .font(.title) // <-- Creates yet another struct
    .padding() // <-- Goodness gracious me
The order you apply modifiers in can affect the final result, particularly when dealing with layout.
You might be thinking that all of this sounds like a lot of fuss just to avoid writing a couple of extra square brackets and commas, but SwiftUI isn’t like this just so that your code is easier to read.
A description of the entire view hierarchy (as a series of nested View types) is held in memory as a computed result of your application’s state. If you change part of the state, then the hierarchy is recomputed. This process is very fast, because you’re just building some structs, but comparing any two hierarchies could potentially be very slow if the framework needed to compare every property of every part of two whole hierarchies. Using view builders and some View means that the entire hierarchy is strongly typed, so the comparison is much more efficient.
The final language feature that SwiftUI uses is property wrappers. These are used extensively when connecting your application’s state to the view hierarchy. A property wrapper allows predefined code to be executed on the getter and setter of a particular property without having to write custom methods and hidden variables all over the place.
So a SwiftUI hierarchy is built of structs. This introduces complexity around holding and modifying state, since structs have value semantics. This is particularly relevant to SwiftUI, where you as a developer are not in control of the lifecycle of your view types. To successfully manage and observe state, you add wrapped properties to your views. The framework then manages the ownership of those properties for you.
Managing state in SwiftUI
The simplest wrapper to understand is @State. This represents an internal property of the view, which, on changing, would cause the view to be redrawn. @State properties are typically private variables, to underline the fact that they are internal state:
struct CheeseChooser: View {
    @State private var extraCheese = false
    var body: some View {
        VStack {
            Button("Cheese?") { extraCheese.toggle() }
            if extraCheese {
                Text("Yay! Cheese is delicious!")
            }
        }
    }
}
SwiftUI manages the value of the property for you; it isn’t directly held on the struct. This avoids any complications around preserving or mutating the value while the view hierarchy is rebuilt. Changes to the value of the property trigger a re-creation of this part of the view hierarchy, meaning body will be recomputed. Tapping the button toggles the state variable, in this case causing the extra text to appear and disappear.
As a general rule, if you have a wrapped property on a SwiftUI view, then changes to that property’s value cause your view to be recomputed.
It’s more useful in many cases to have a property that originates outside the view. In this case, a @Binding property wrapper is used. Binding properties allow reading and modification of a variable that is held elsewhere, removing the multiple-sources-of-truth problem that is a frequent source of bugs in UIKit apps. Examples of views with binding variables are text fields and toggles (switches). Replacing the button in the example above with a toggle looks like this:
struct CheeseChooser: View {
    @State private var extraCheese = false
    var body: some View {
        VStack {
            Toggle("Extra Cheese", isOn: $extraCheese)
            if extraCheese {
                Text("Yay! Cheese is delicious!")
            }
        }
    }
}
The $extraCheese is passing a Binding<Bool> to the toggle, which can be used to get and set the value. This both informs the toggle of the on/off state to display and allows the toggle to directly change the state variable in the parent struct — without creating any intermediate storage that might get out of sync.
Toggle will be implemented something like this:
struct Toggle: View {
    let title: String
    @Binding var isOn: Bool
    var body: some View {
        HStack {
            Text(title)
            SwitchySwitch(on: isOn, action: { isOn.toggle() })
        }
    }
}
@State and @Binding are typically used at a very granular level for things relating directly to individual views or small hierarchies. They do not offer a place to keep your business logic, and nor do your views. That work is better (and more testably) handled in separate objects — typically classes conforming to ObservableObject with one or more properties marked with the @Published wrapper.
ObservableObject is a protocol defined in the Combine framework that adds a publisher to an object which sends every time the object will change, as defined by a published property being set or the publisher being triggered manually.
A SwiftUI view can hold a reference to an observable object via a wrapped property. When the change publisher sends, SwiftUI marks the view for re-rendering on the next draw cycle. The publisher is sent on will change, rather than did change, so re-rendering can be coalesced, much like setNeedsDisplay() on UIKit views. You can therefore set multiple published properties in one turn of the run loop and only have one re-render happen.
This class represents a pizza that the user can build with your app:
class Pizza: ObservableObject {
    @Published var extraCheese = false
    @Published var anchovies = 10
}
There are three ways to introduce observable objects into the SwiftUI hierarchy. Which one you use depends on where in the hierarchy you are and who should be owning the object. Owning views use the @StateObject wrapper:
struct PizzaOrderForm: View {
    @StateObject var pizza = Pizza()

    var body: some View {
        Toggle("Extra Cheese", isOn: $pizza.extraCheese)
    }
}
The properties of the pizza can be accessed via bindings on the object, instead of directly. The object is initialized and owned at this level of the view hierarchy. If nested views need to use the object, then they use @ObservedObject and the object is passed in on initialization:
struct ToppingSelectionView: View {
    @ObservedObject var pizza: Pizza
    var body: some View {
        Stepper("\(pizza.anchovies) Anchovies", value: $pizza.anchovies, in: 1...100)
    }
}

let toppings = ToppingSelectionView(pizza: pizza)
Finally, you can inject an observable object into the SwiftUI environment, and any view further down the hierarchy can pull it out using the @EnvironmentObject property wrapper:
struct ToppingSelectionView: View {
    @EnvironmentObject var pizza: Pizza
    var body: some View {
        // A topping selection...
    }
}

let pizza = Pizza()
let parent = SomeTopLevelView().environmentObject(pizza)
Environment objects are stored based on their type, so you can only inject one instance of any type into the environment. Using the environment prevents having to pass an object down every level of a complex hierarchy and prevents unnecessary view redraws for intermediate views that don’t actually care when the object changes. An environment object created in your UIKit hierarchy and injected at the top level of a SwiftUI hierarchy is an excellent place to start integrating SwiftUI into your existing apps.
Adding SwiftUI to an existing app
A new feature requirement for an existing app is a great place to get started with SwiftUI. Everything else will be familiar to you, the scope of the change is likely to be small, and it forms a great learning experience for the author and reviewers.
The general pattern is to find the point in your UIKit app where you’d launch or display the new feature. At that point, create an observable object or objects to manage the data flow to and from the UI for the new feature. Then, create the root of the SwiftUI hierarchy, inject the observable object into the environment, wrap the SwiftUI view in a UIHostingController, and present it like you would any other view controller.
Careful design of the environment object will mean that your business logic is fully isolated and testable, which will also mean you can exercise the new feature’s UI in the preview canvas without having as many build and run cycles as you would with UIKit.
As you gain confidence with the framework, you can move slowly inward through your app, replacing view controllers one at a time. You will be surprised at the amount of code you can remove from your app this way, and code reviews become so much easier — who can put their hand on their heart and say they have actually looked at the diff of a storyboard or xib file and understood what changes it involves? With a SwiftUI interface, it’s all right there as plain text.
This is going to hurt, at least for a while
SwiftUI is not perfect. It’s a relatively new technology, and parts of it are in flux. There are several pain points you will encounter as a developer, and here are some of my favorites.
SwiftUI code is intended to be straightforward to read, but it isn’t necessarily straightforward to write, at least at first. Because the compiler is doing so much work, and because so many things are defined based on protocols, the documentation and the autocomplete are not as helpful as they are with other frameworks. Things do improve with every release, but right now it can still be a struggle to know which modifiers apply to which views, or what’s even possible to do.
There can be many initializers to choose from for each of the built-in views, and the documentation is not always clear on which initializer is appropriate for which situation. I highly recommend SwiftUI Companion as an additional reference, along with the accompanying SwiftUI Lab website, which often has worked examples of each type of initializer and notes about when you’d use them.
As your views become more complex, the compiler can struggle to keep up, and this can manifest itself in build errors showing up in unusual or incorrect places. This can lead to a certain amount of desperate flailing around (I’m speaking from personal experience here) while you try to get things working. Once you have a view looking how you want, it’s often a good idea to revisit and try removing or changing some modifiers to simplify things back down again — or to split components into individual computed properties or functions, especially if you have stacks within stacks within stacks and the nested brackets get to be too much to bear.
Think of it as the tools enforcing you to write small, contained units of code. If the compiler can’t deal with it, how will a future maintainer know what is going on?
The preview canvas is a classic work of Apple developer tools magic — when it works, it’s the best thing ever; when it stops working, it is a source of endless frustration and despair. It seems to particularly struggle if the rest of your app is complex, with a lot of packages or submodules, for example, and sometimes it gets upset if you are running the app in the simulator at the same time.
The future
SwiftUI is here to stay and represents the clear direction of travel of Apple’s developer frameworks, in much the same way that Swift did when it was first launched. Like any new technology, there is a learning curve, but once you get your feet wet, you will probably want to swim a little deeper.
In addition to the SwiftUI Companion mentioned above, there are many other excellent resources out there to learn from. Apple’s interactive tutorials are very impressive, Hacking With Swift is likely to have a bite-sized article describing exactly how to do the one thing you’re trying right now, and raywenderlich.com produces all new and updated content using SwiftUI (disclaimer: I am part of the raywenderlich.com team.
With our clients, we are recommending the use of SwiftUI for all new interface developments. We expect that the framework will continue to evolve and improve and that developer expertise and comfort will shift over the years such that writing in UIKit will soon feel as dated as writing in Objective-C does today.